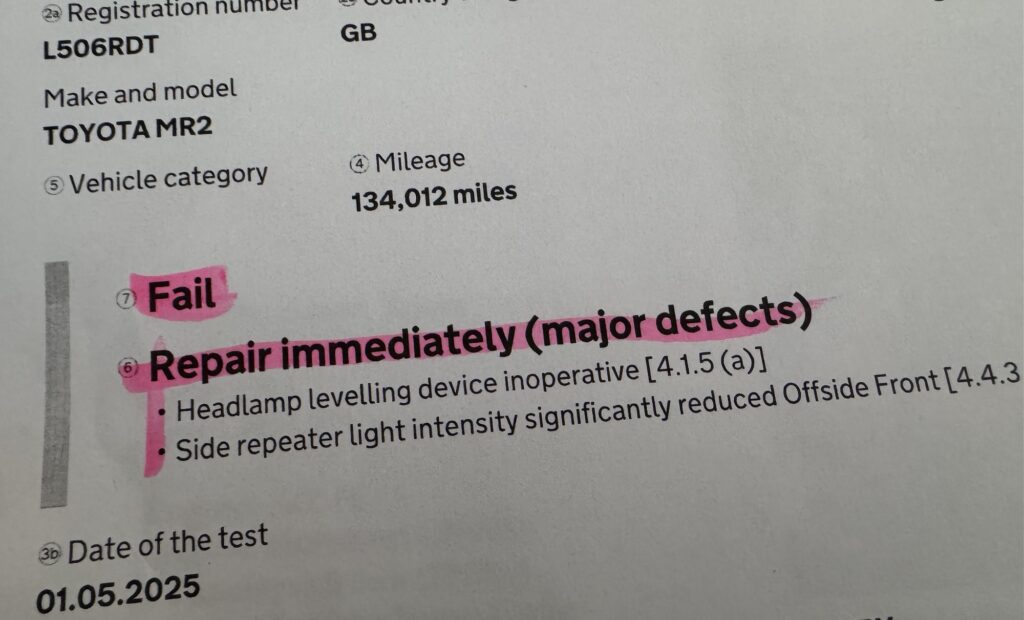
A failed MOT on something seemingly tiny and insignificant once again sent me further down a road of dismantling than intended.
On UK spec MR2s there is a headlamp adjustment knob amongst the controls at the lower right under the steering wheel:
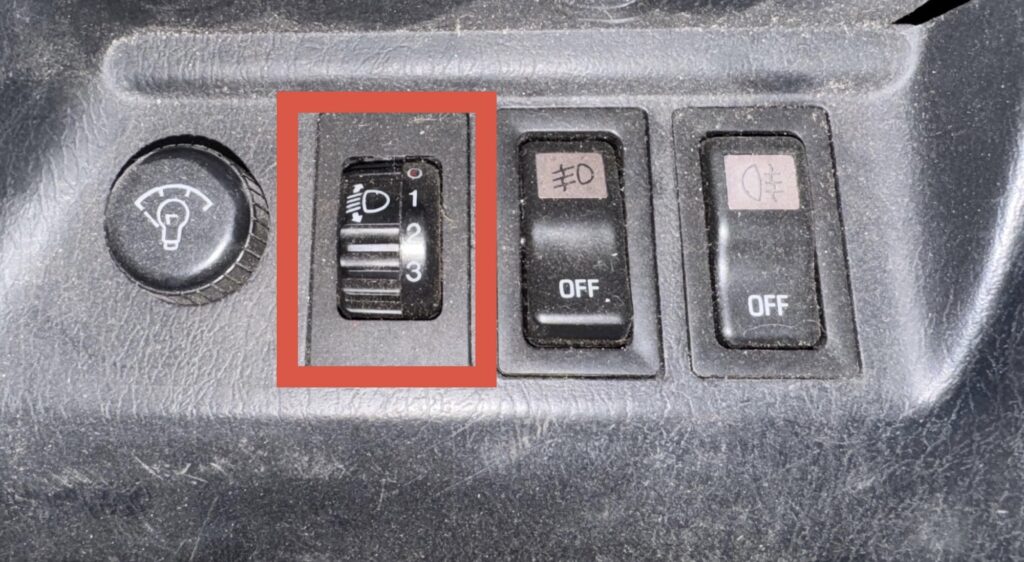
I could have sworn this had been working fine previously and it has never been highlighted in an MOT until now. Sure enough though, the MOT rules state that if a car includes the capability to level the headlights, that function has to work. So I had two options:
- Remove the levelling knob – not all MR2s have this control – it’s an option and JDM don’t have it at all
- Fix it
Of course I went with the second option and on initial inspection was very confused – they definitely don’t work and my headlights don’t even have the motors installed, so they’ve never worked!
It turns out that the original UK headlight units had previously been replaced with JDM units (which don’t have adjustment motors) so that Raybrig headlamps could be fitted (Raybrig lenses don’t fit the uk units).
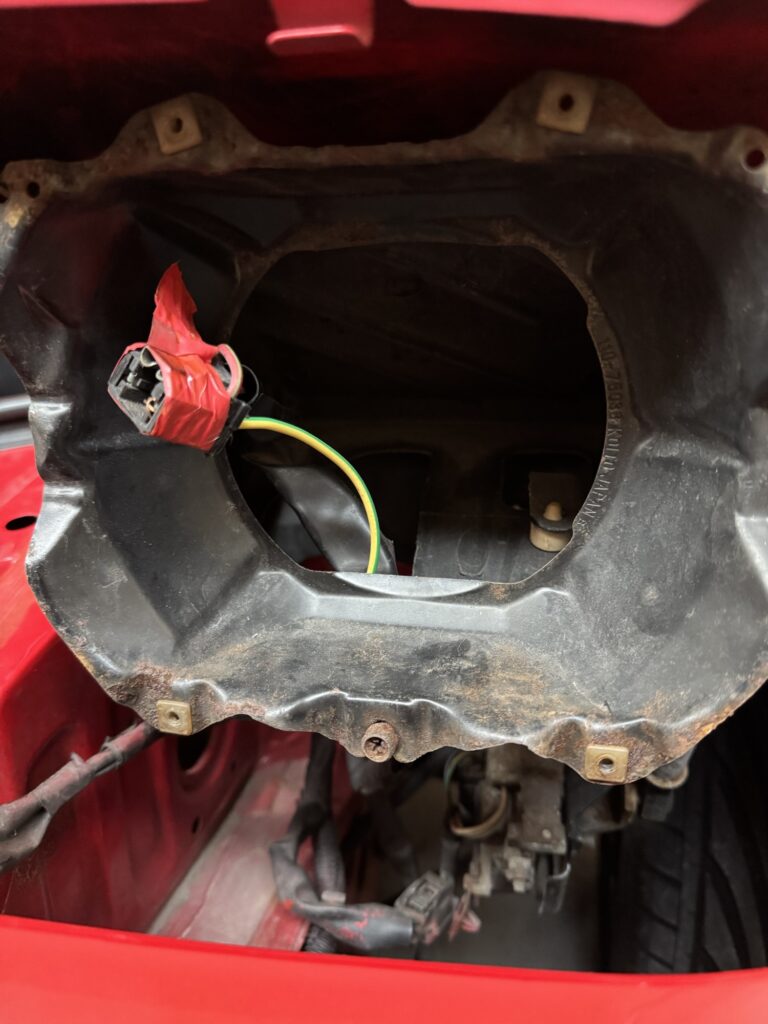
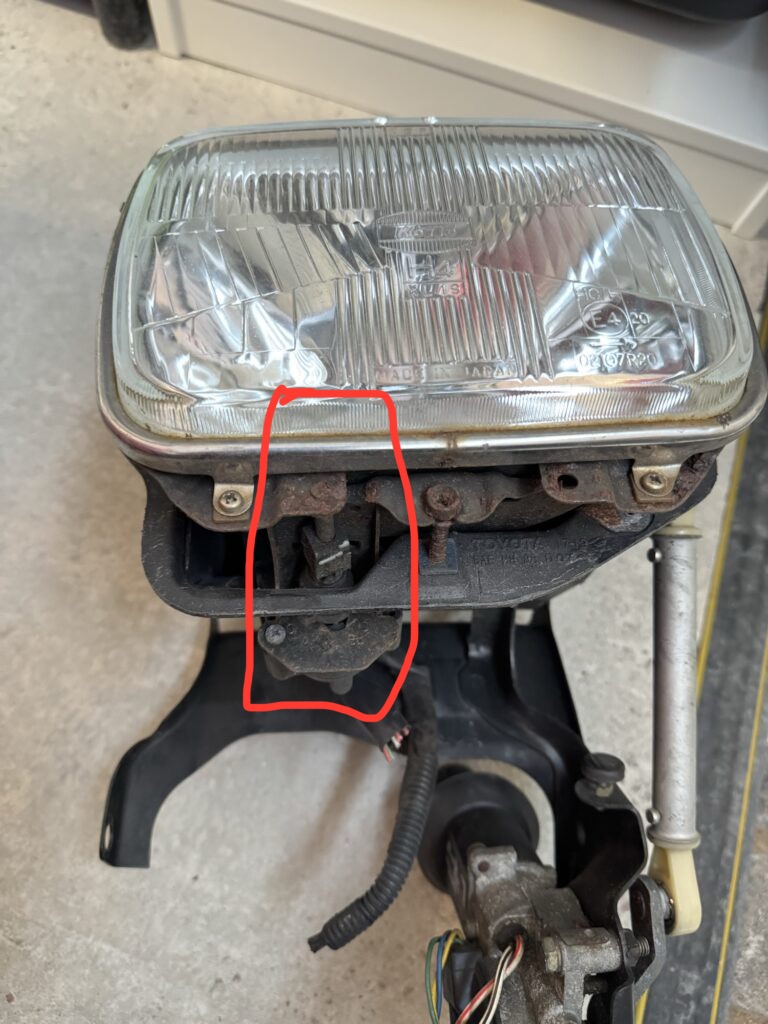
Again a decision point:
- Keep the Raybrigs (A nicer unit with a smooth face and improved visibility over standard) and do away with the levelling capability
- Get the levelling working, which now means I will have to revert to standard UK headlight units and headlamps
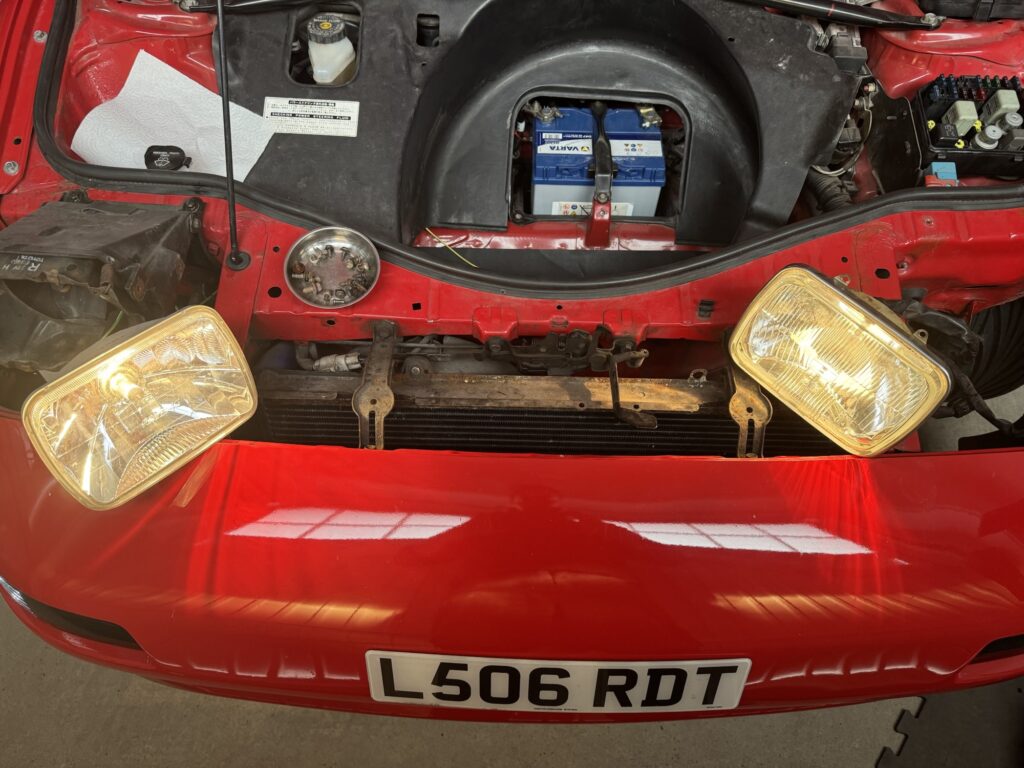
And again I chose the complicated option of restoring the standard feature.
There were a few reasons for this: I like the levelling feature – I used to use it frequently on my last MR2. Also, having inspected the headlights and the surrounding areas there are other things needing attention anyway so I might as well do the work now:
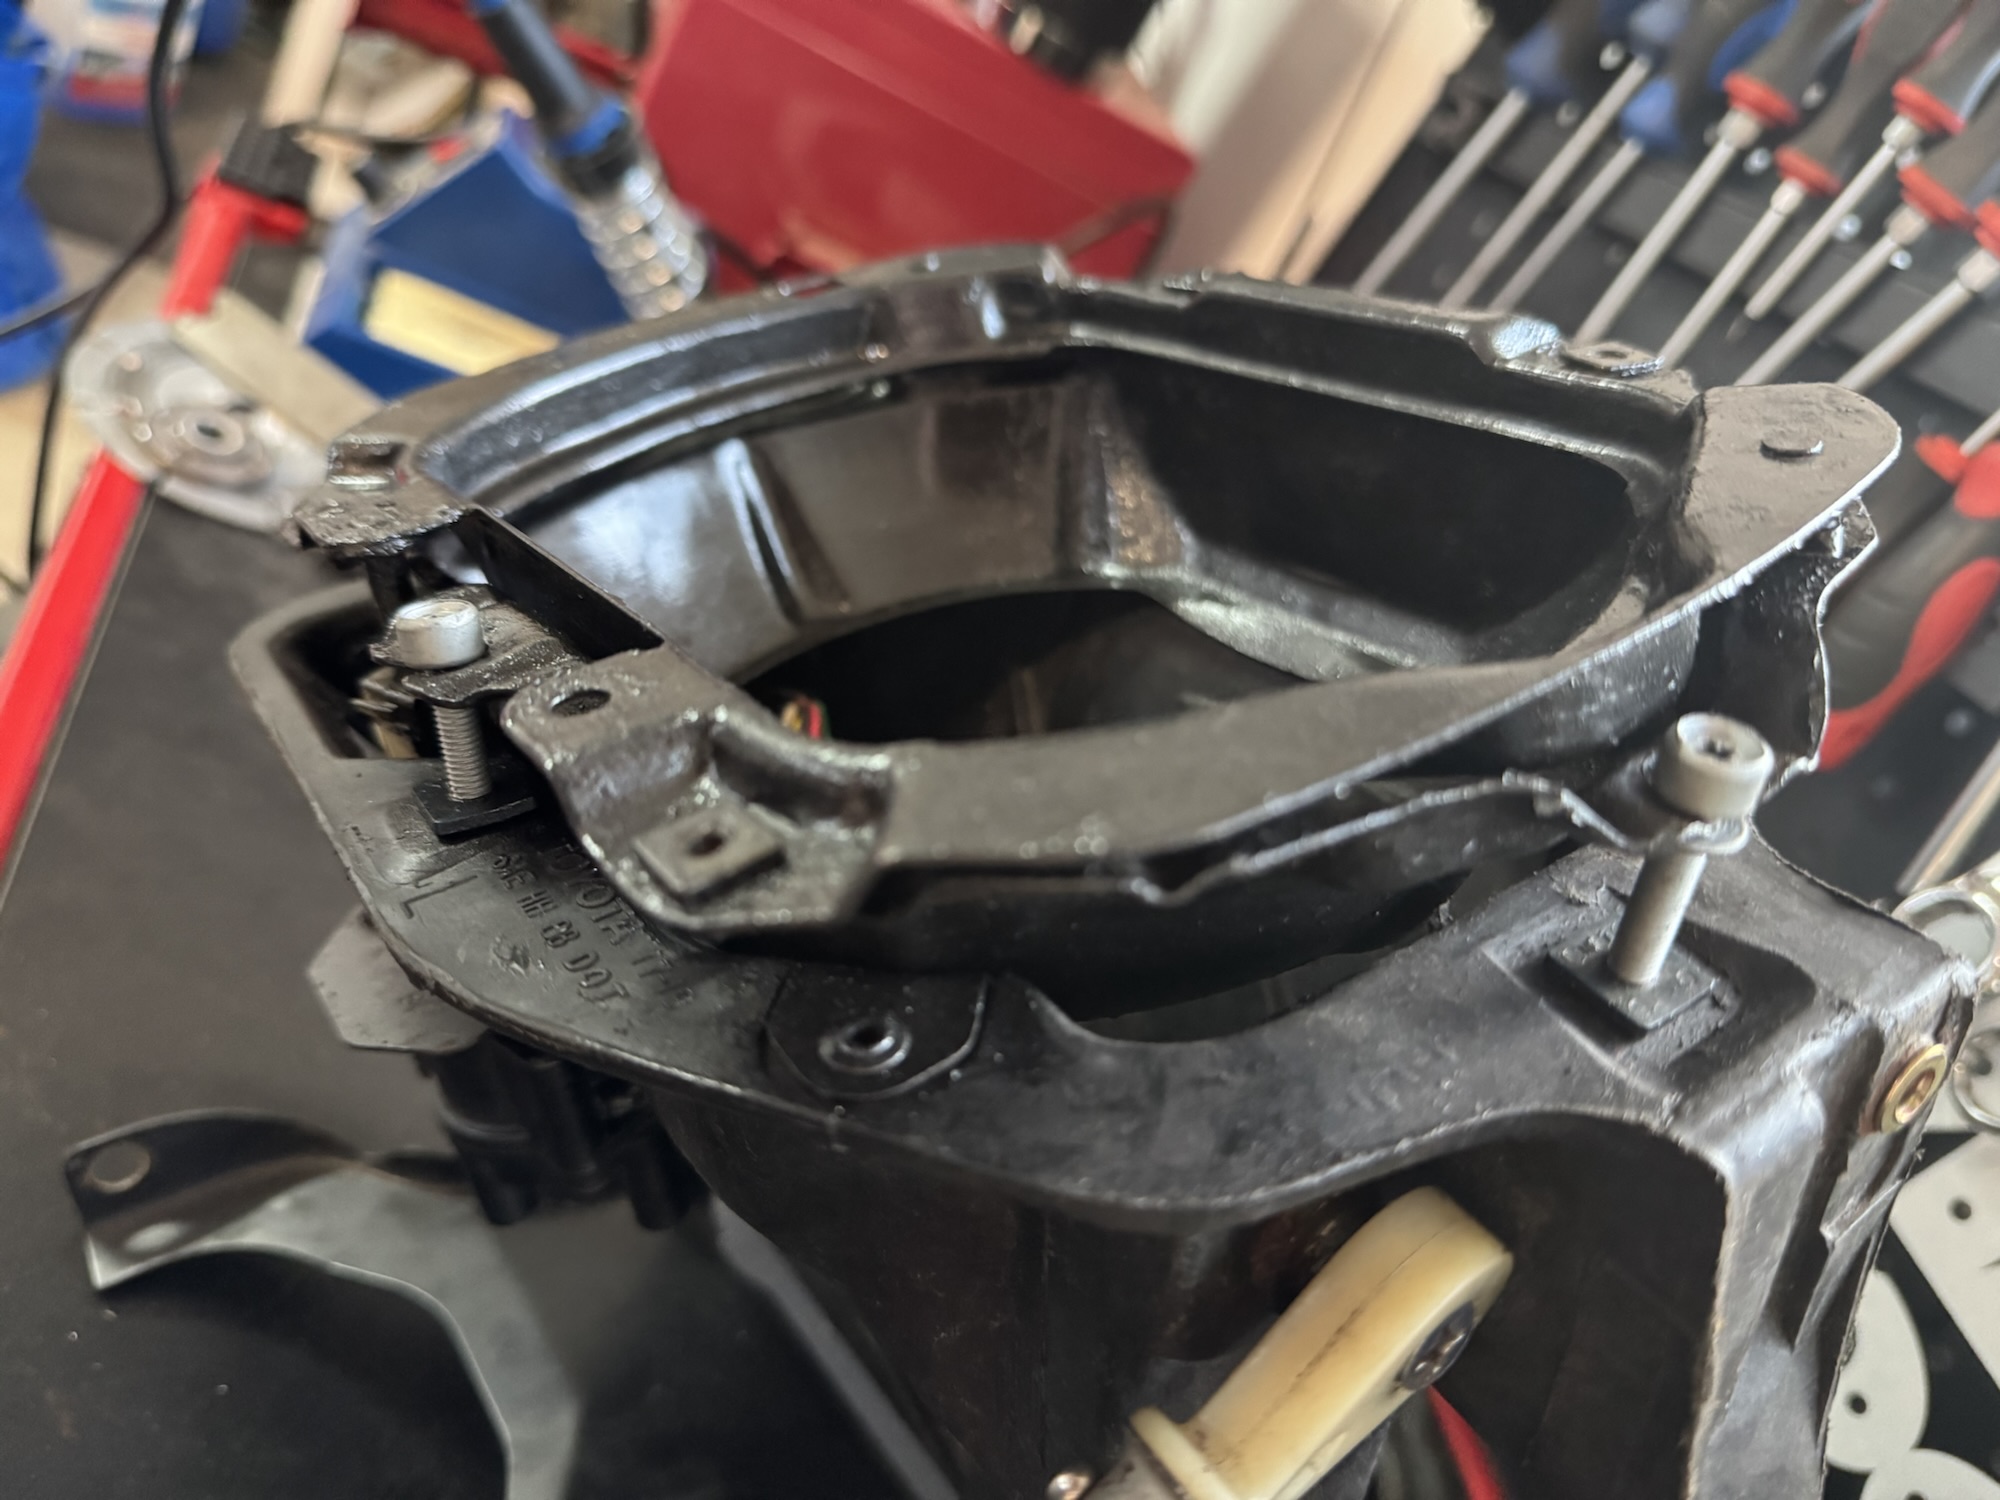
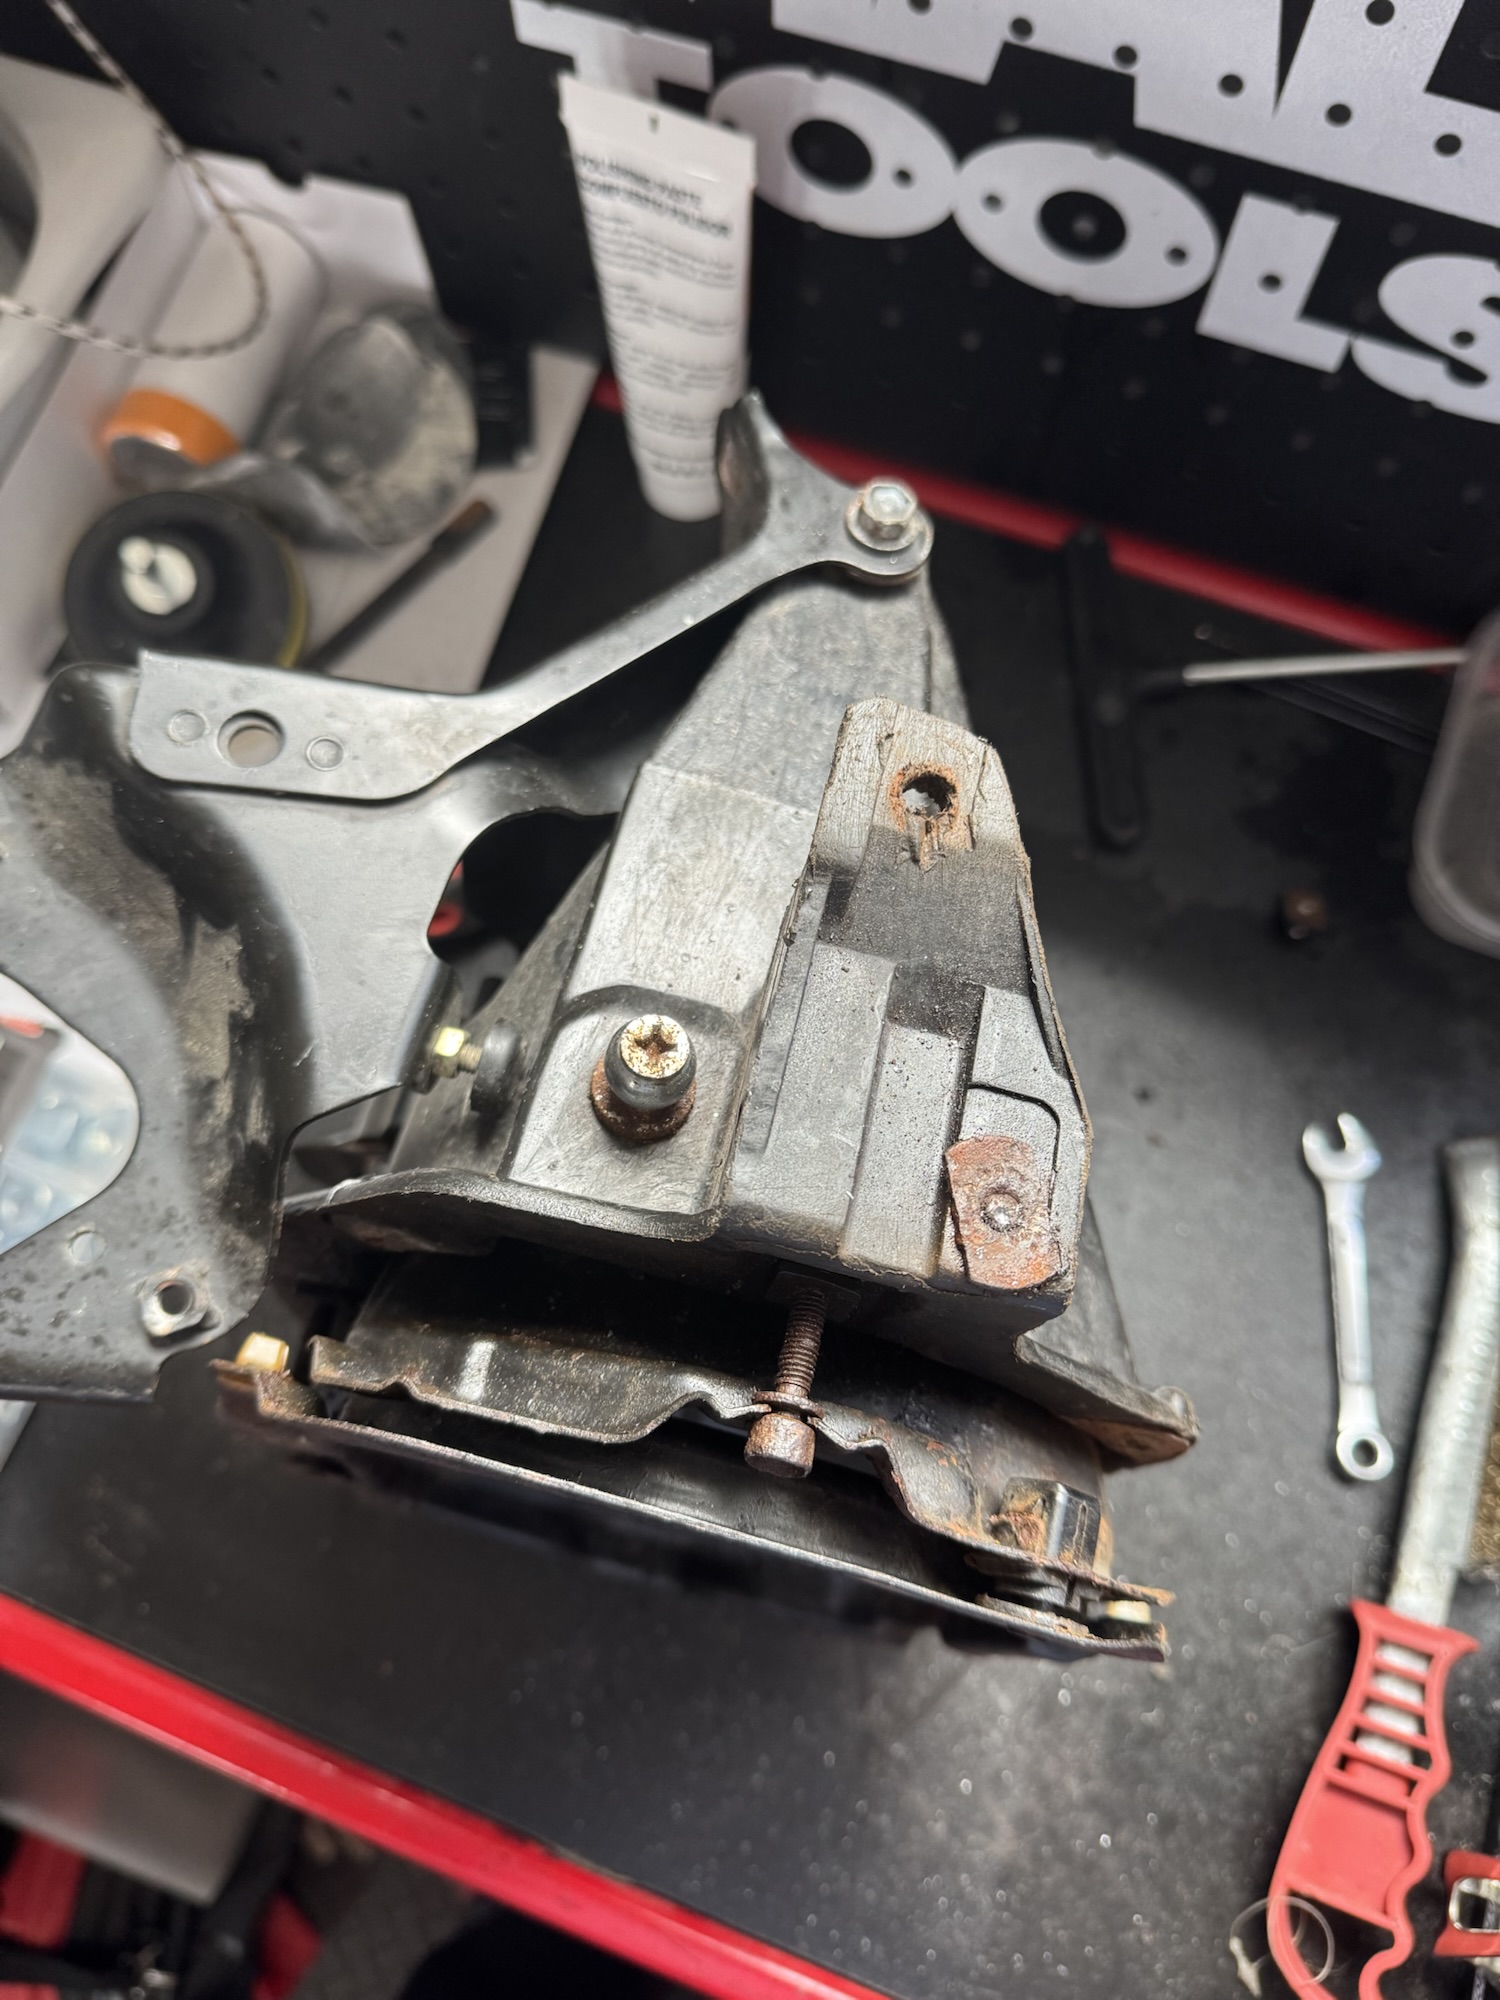
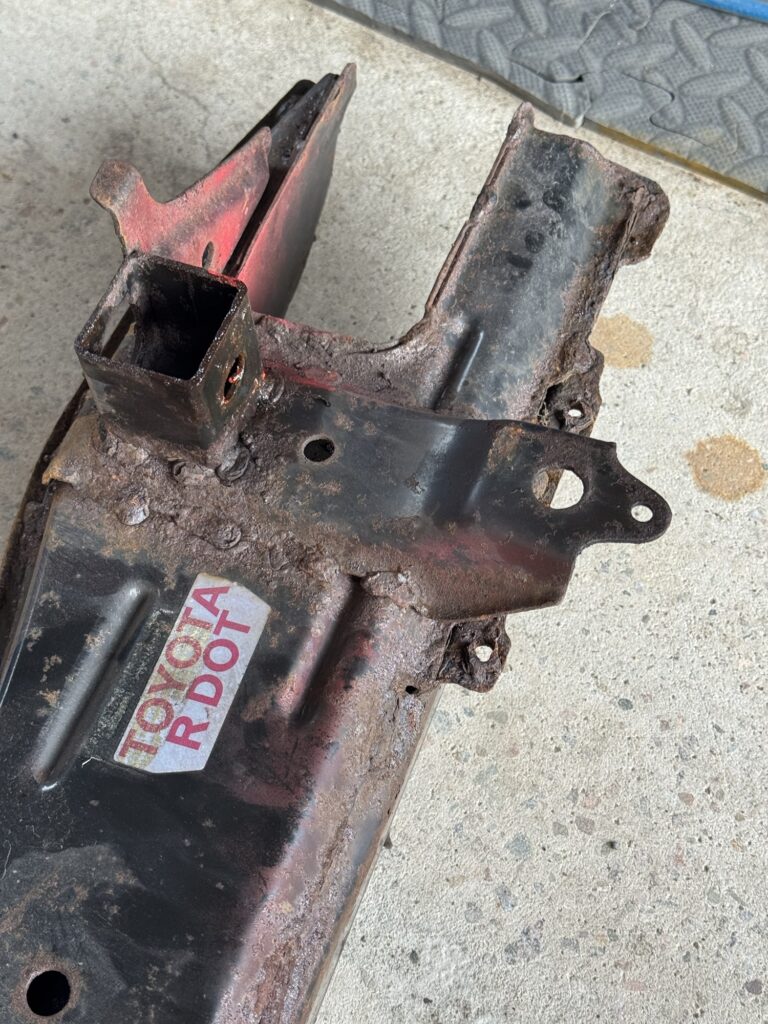
- The headlights are showing signs of age with rust in a few places and the lense adjustment screws are completely rusted out – these need to be replaced
- The headlight electrical connectors have signs of previous faults and are badly worn – a bodged earth wire has been added by the previous garage directly connecting the left and right headlights – I want to remove this and investigate the fault (why they did it)
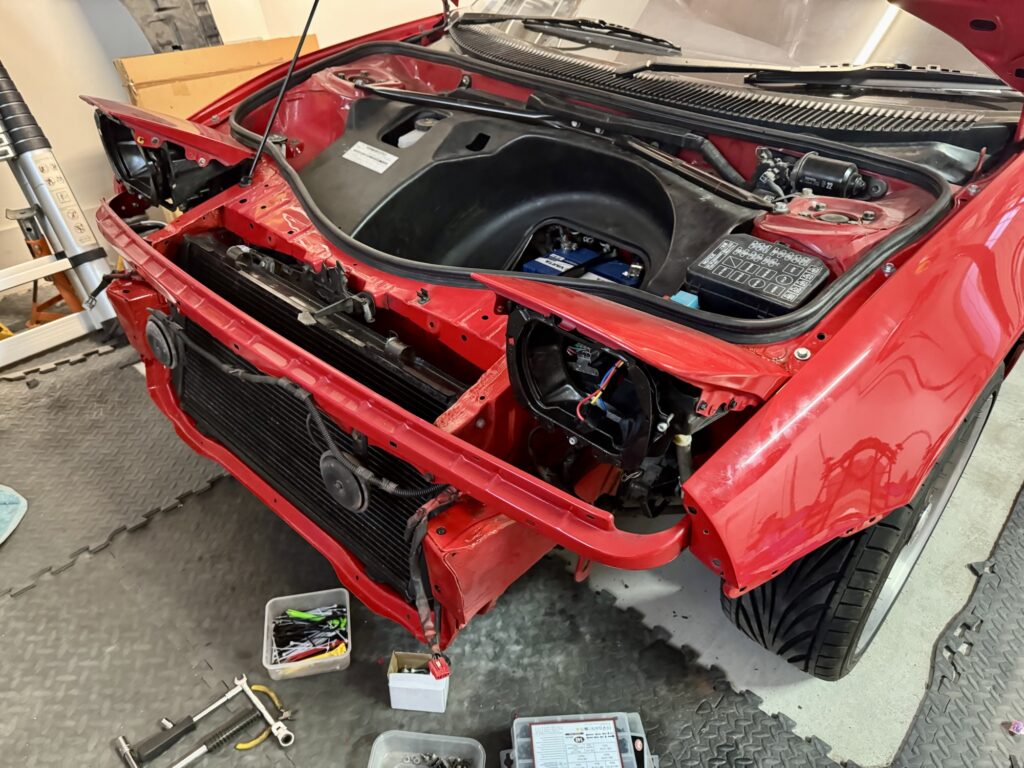
I have a spare set of UK headlights from the previous car and they do indeed have additional components and connectors for the levelling function. On the downside, I am missing one of the retractor motors, so will have to combine parts from both. I connected up my original headlights to check they still work and they do indeed!
Headlight Restoration
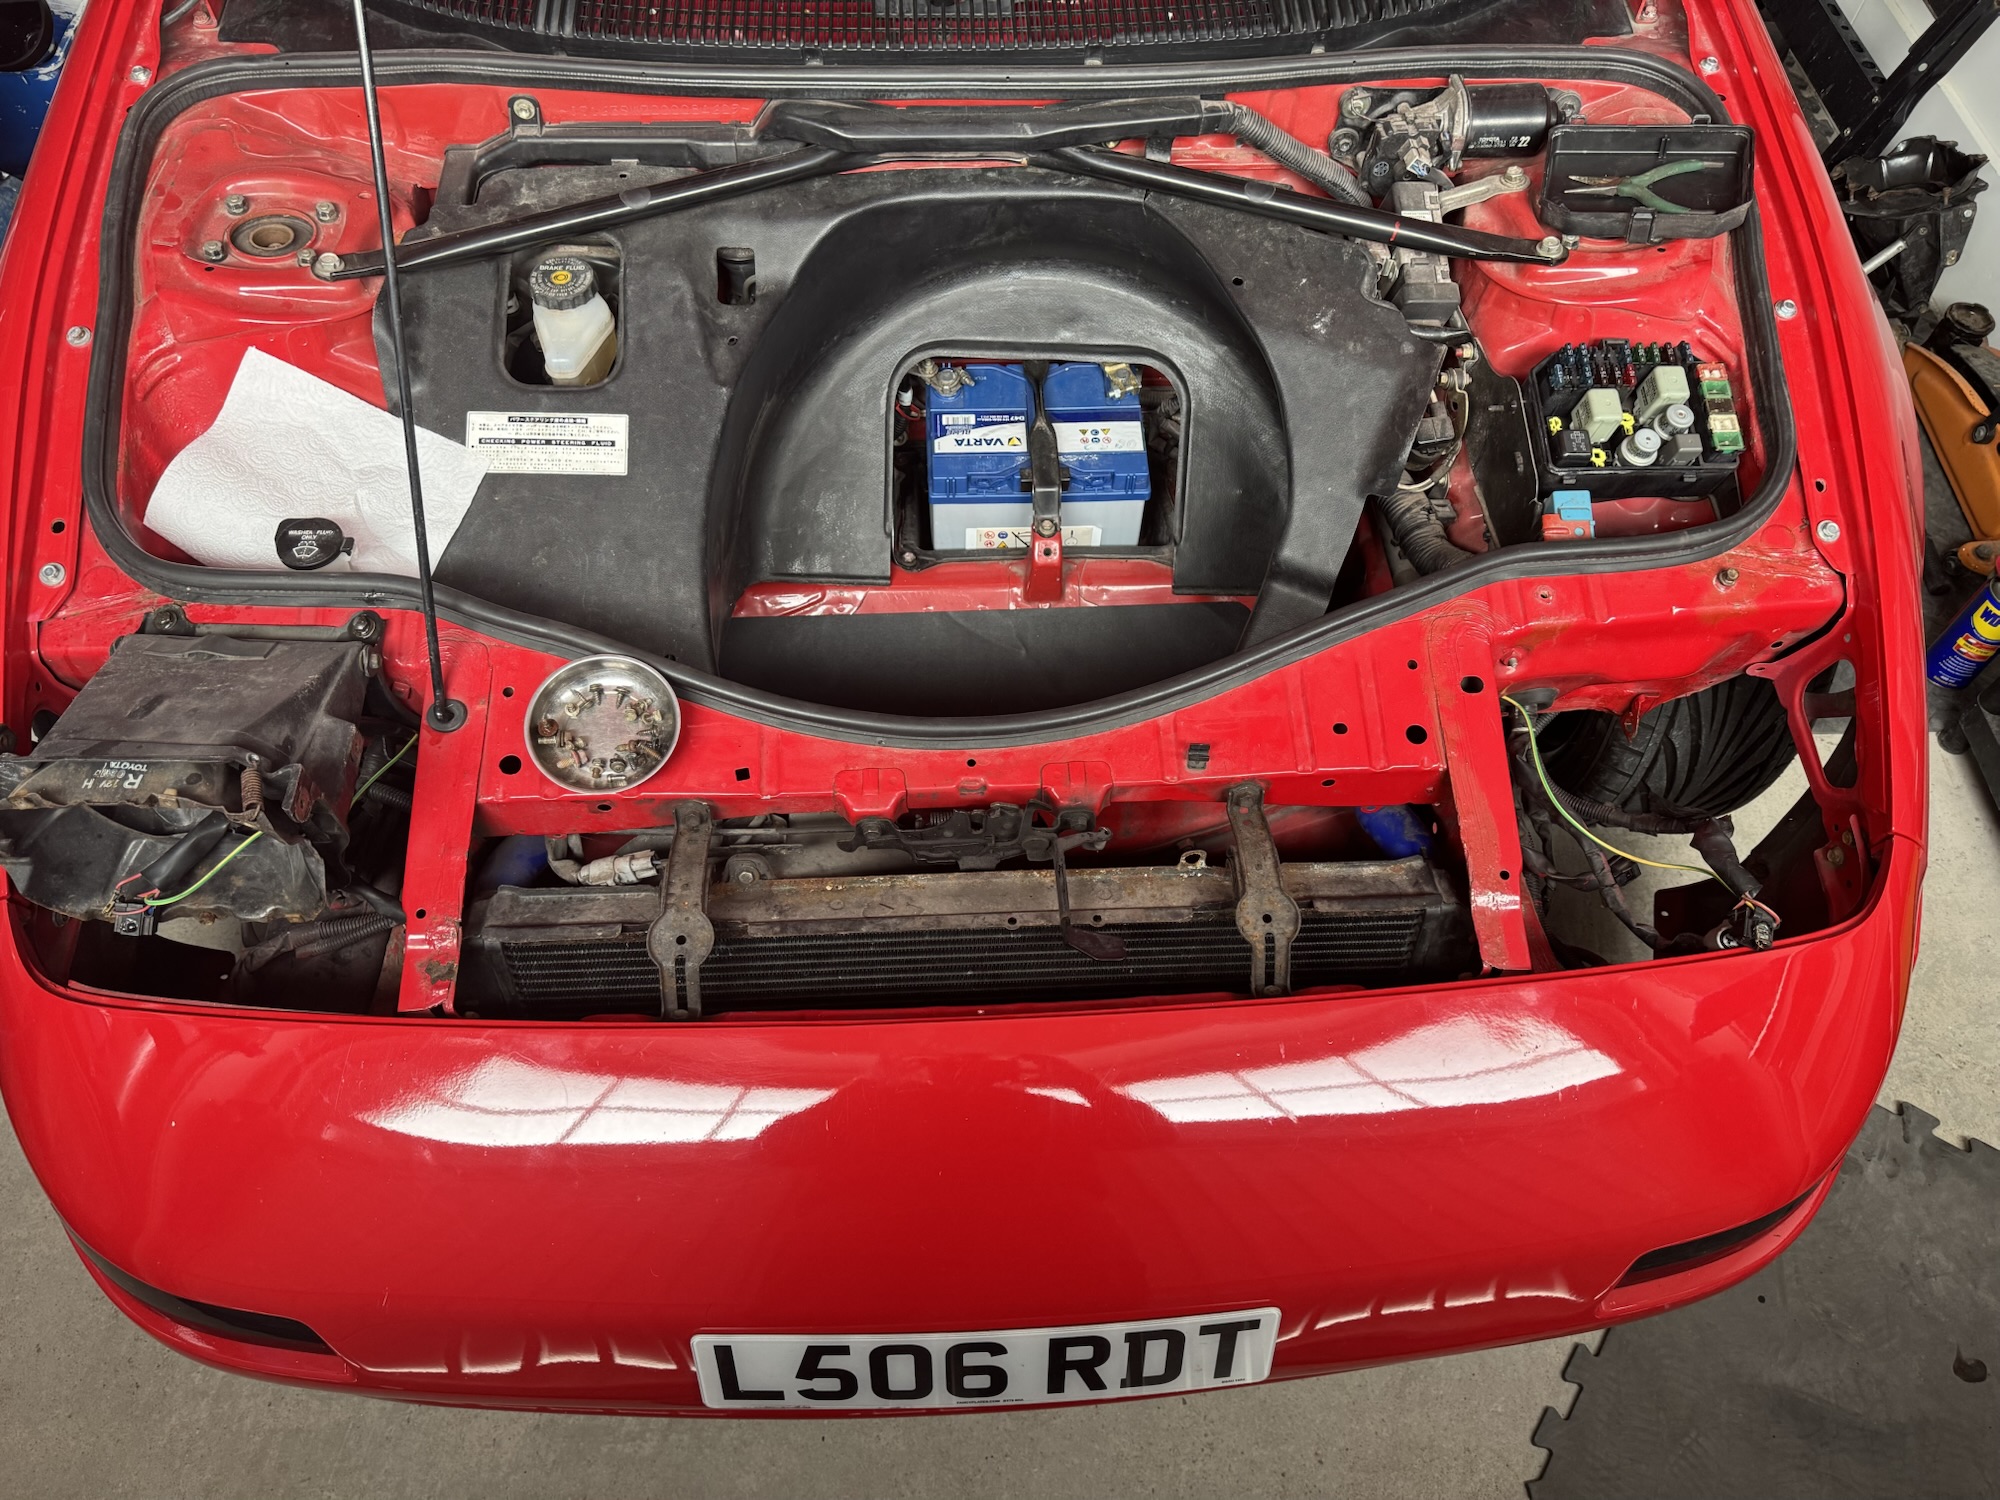

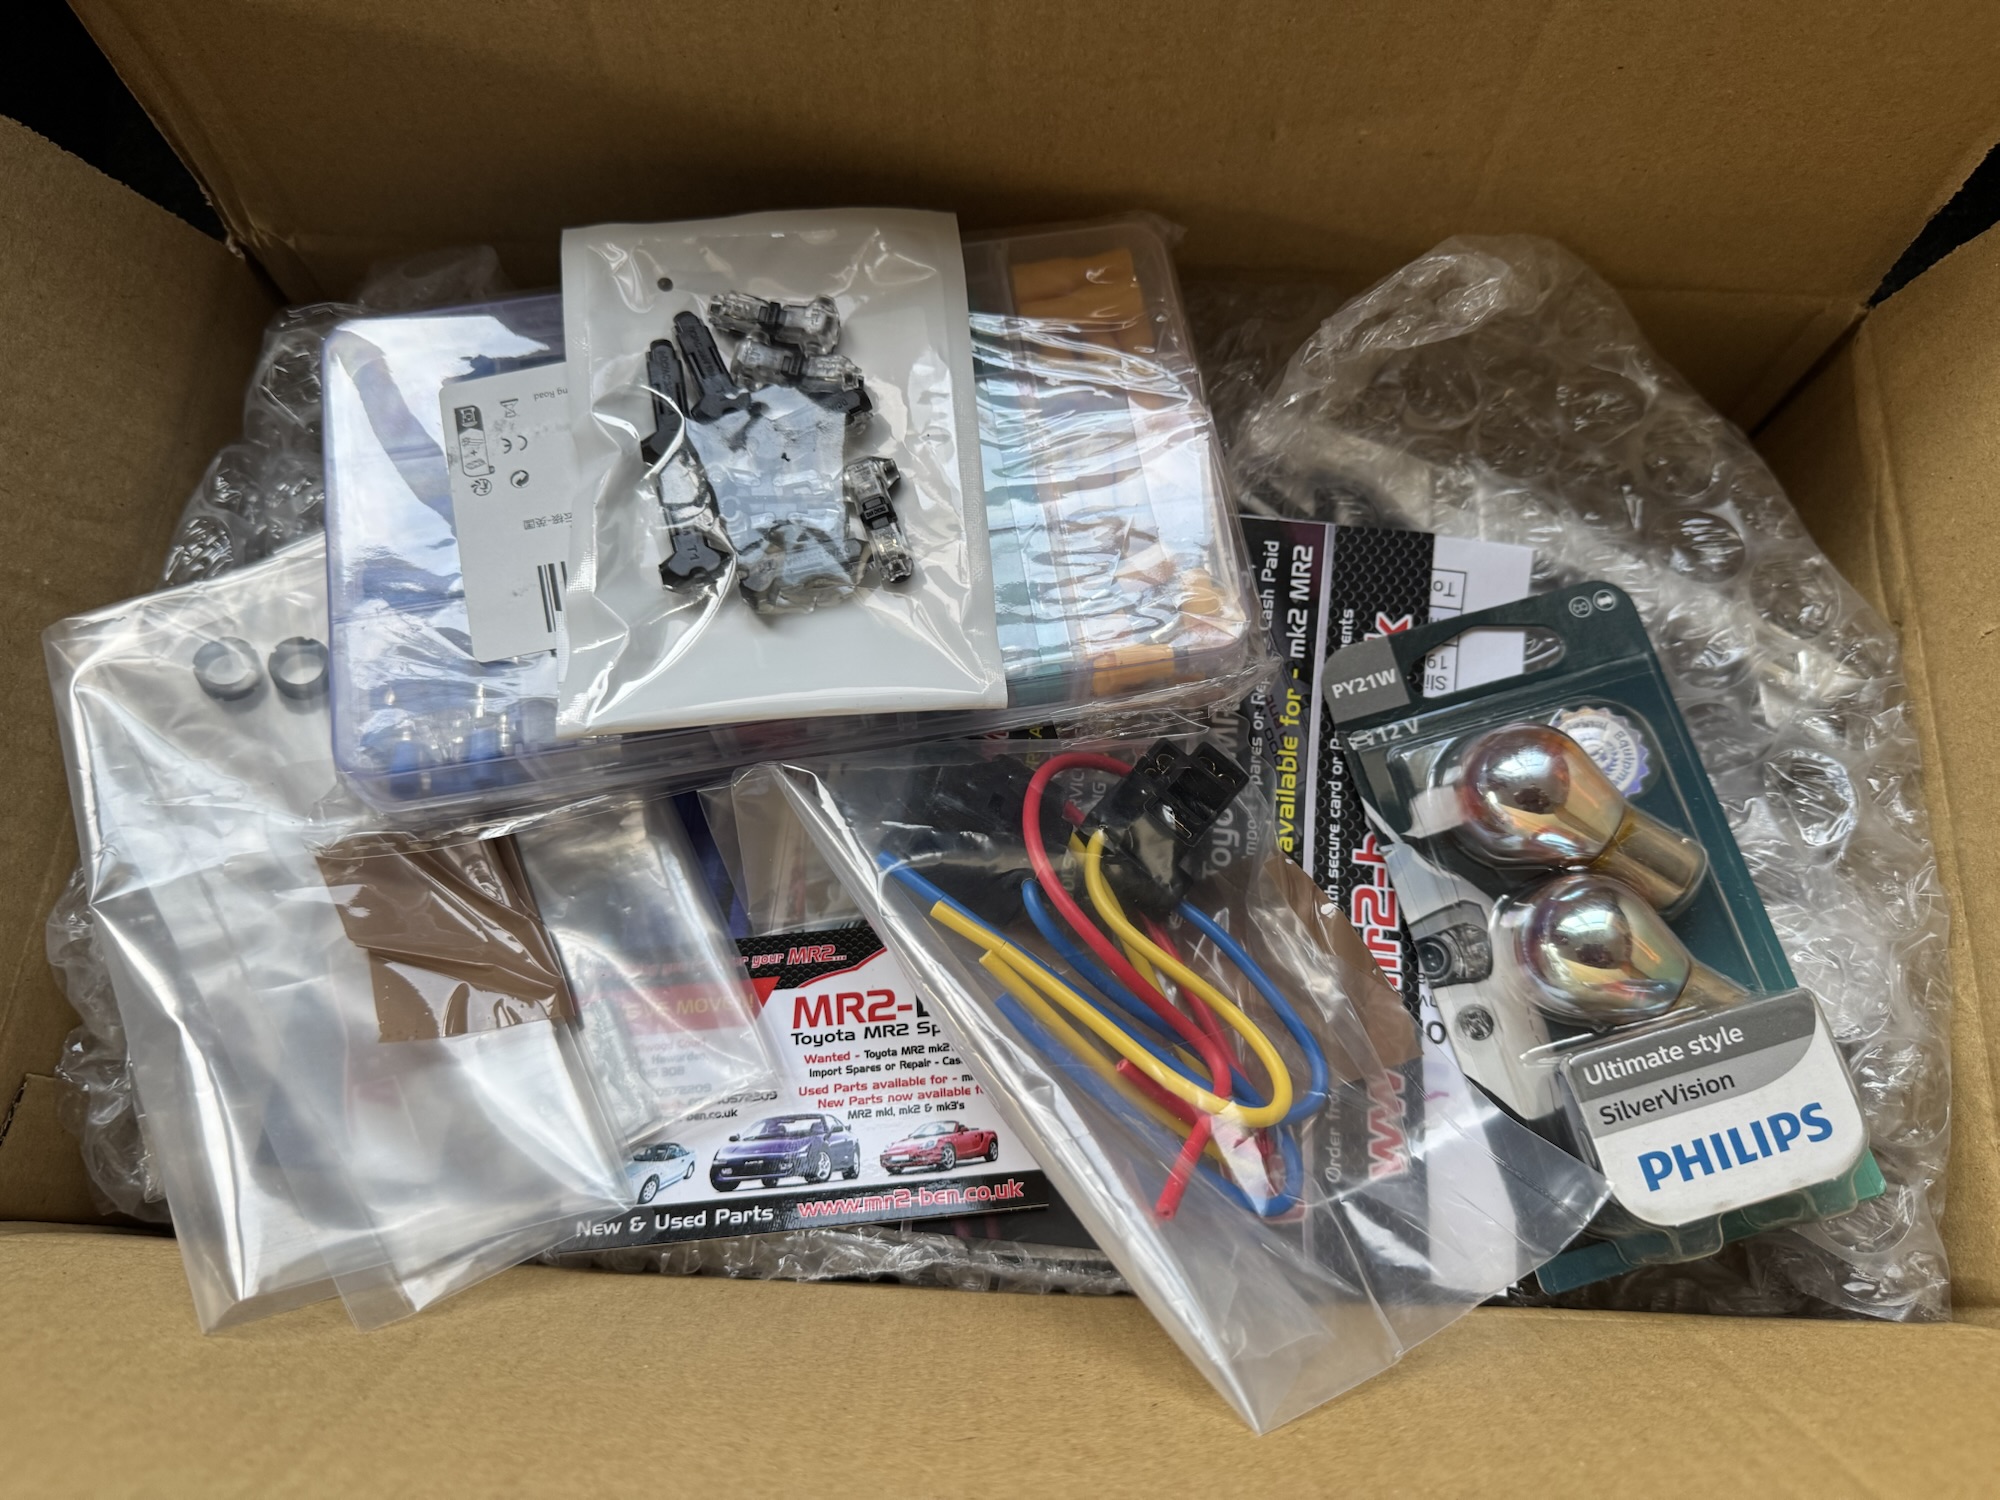
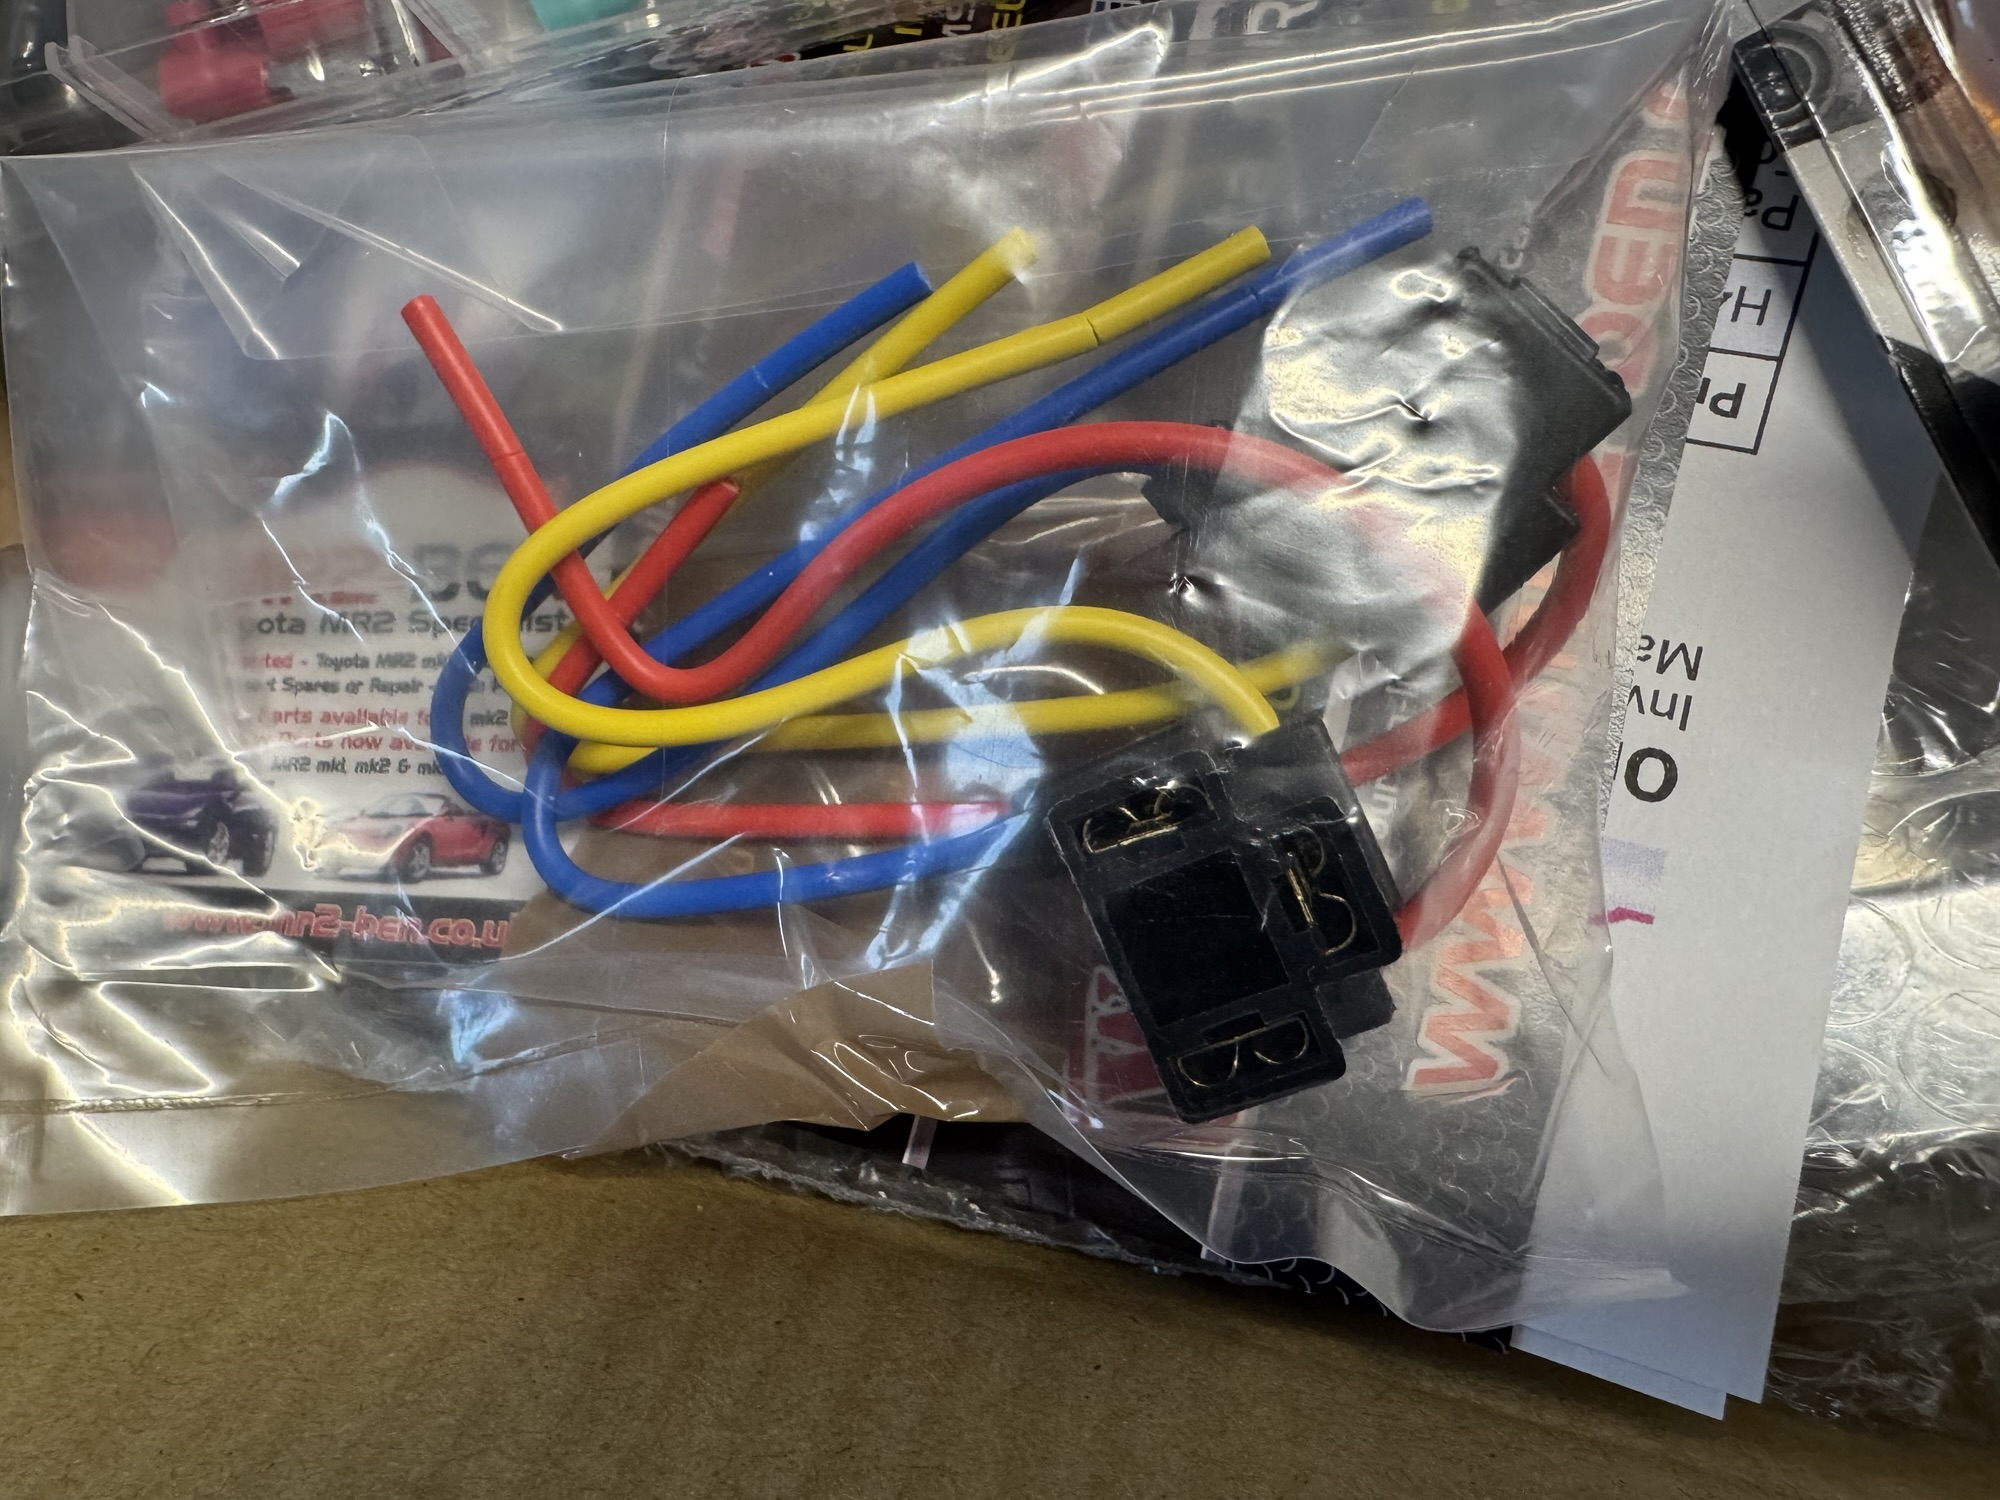

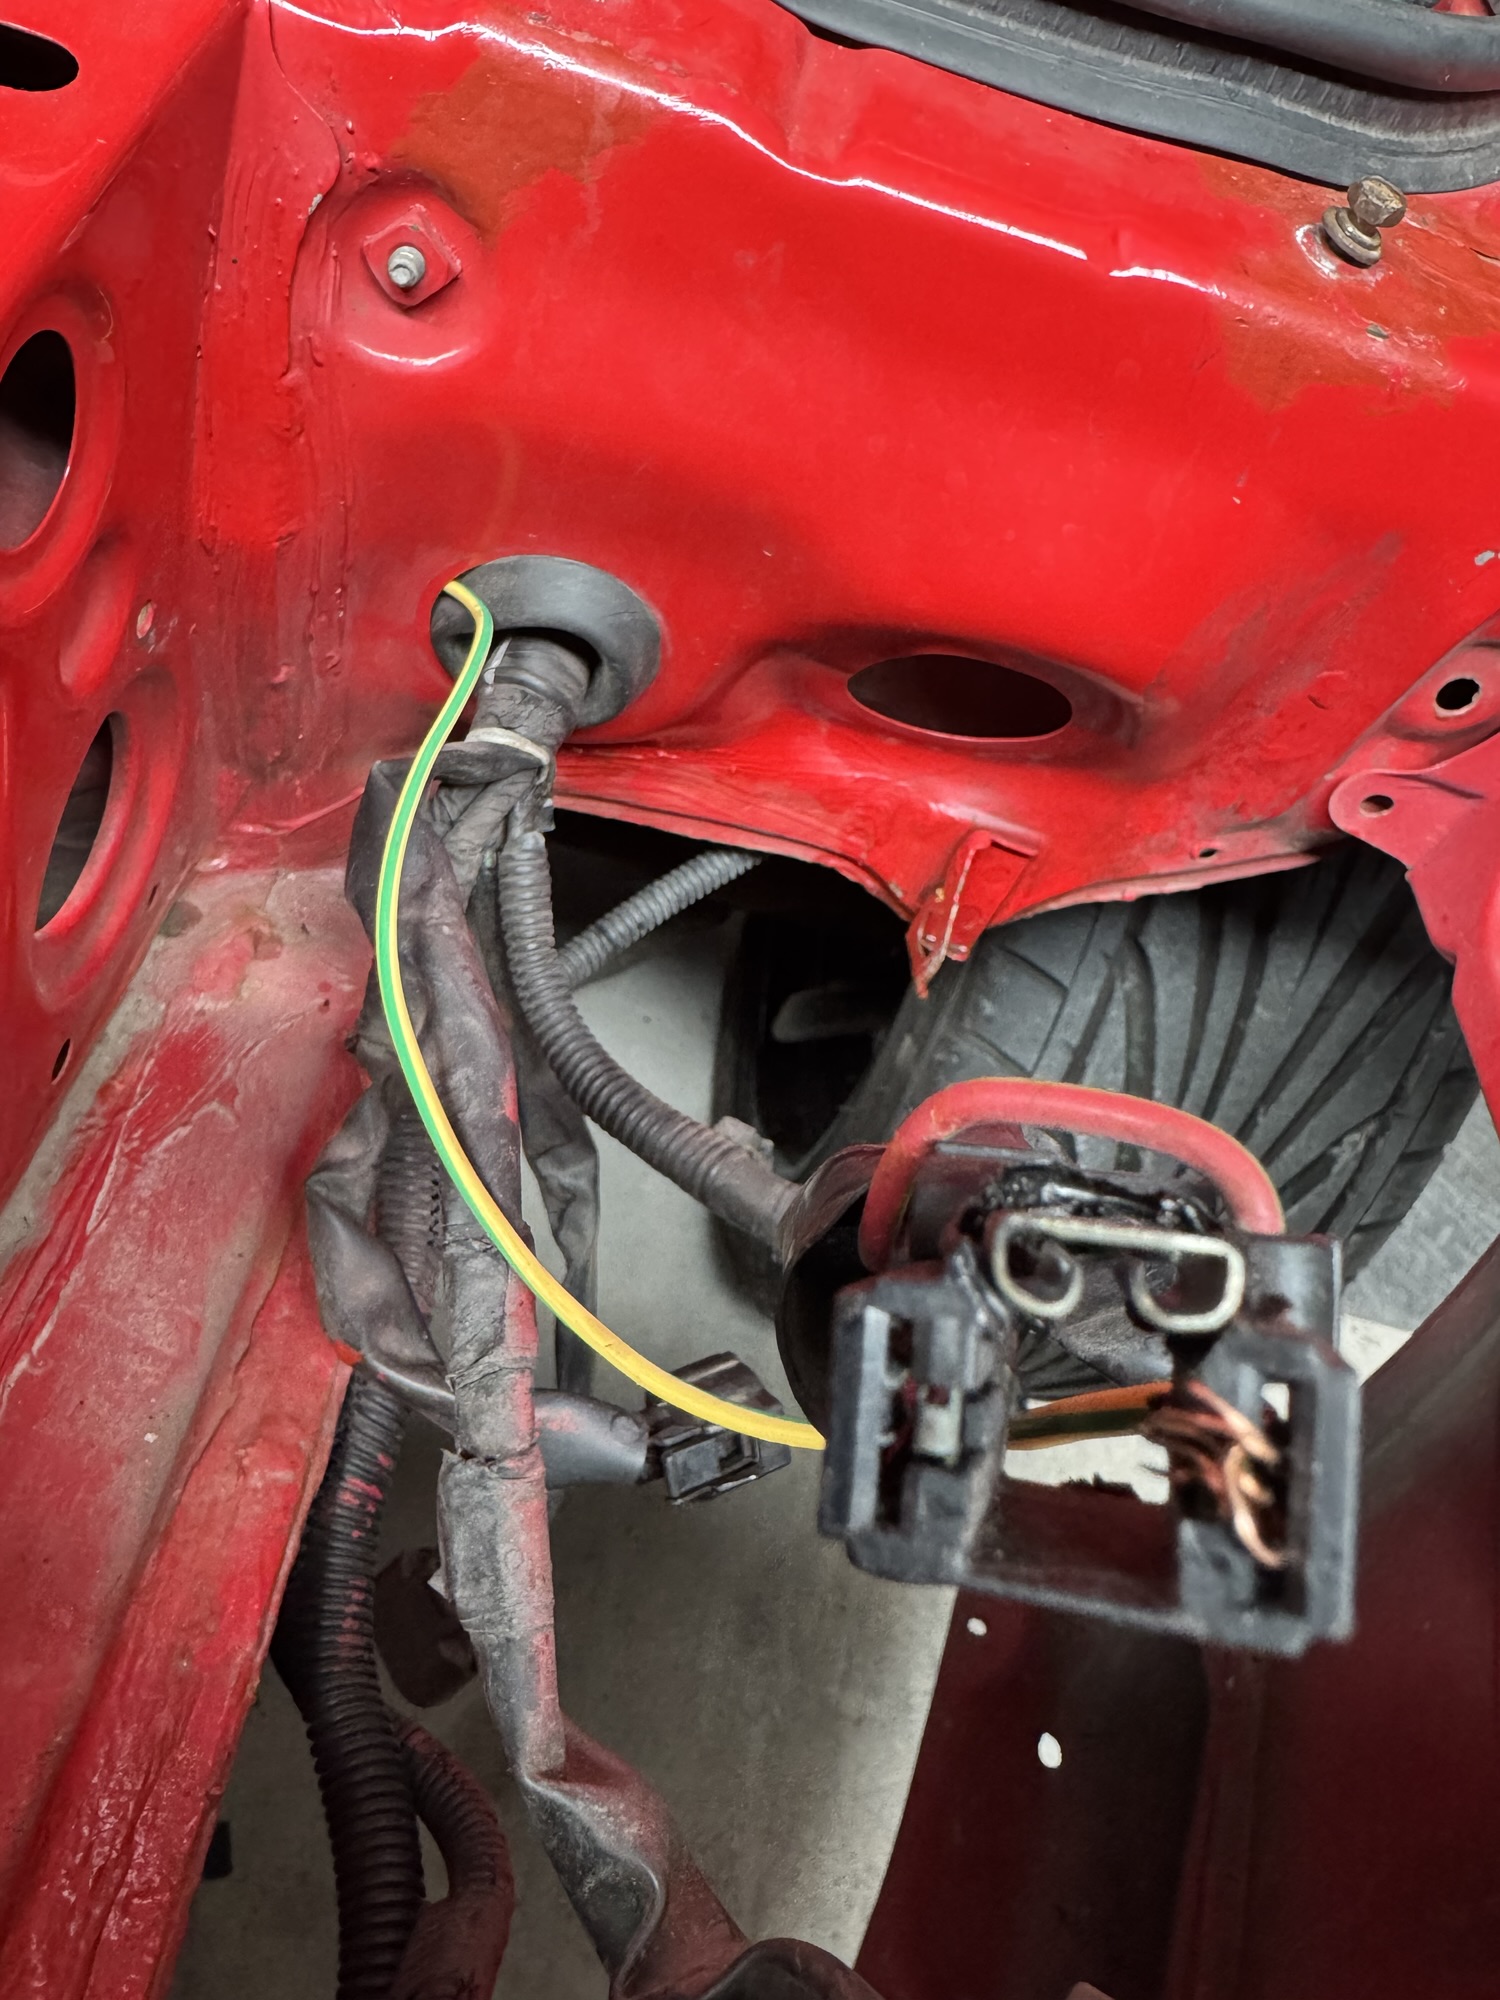

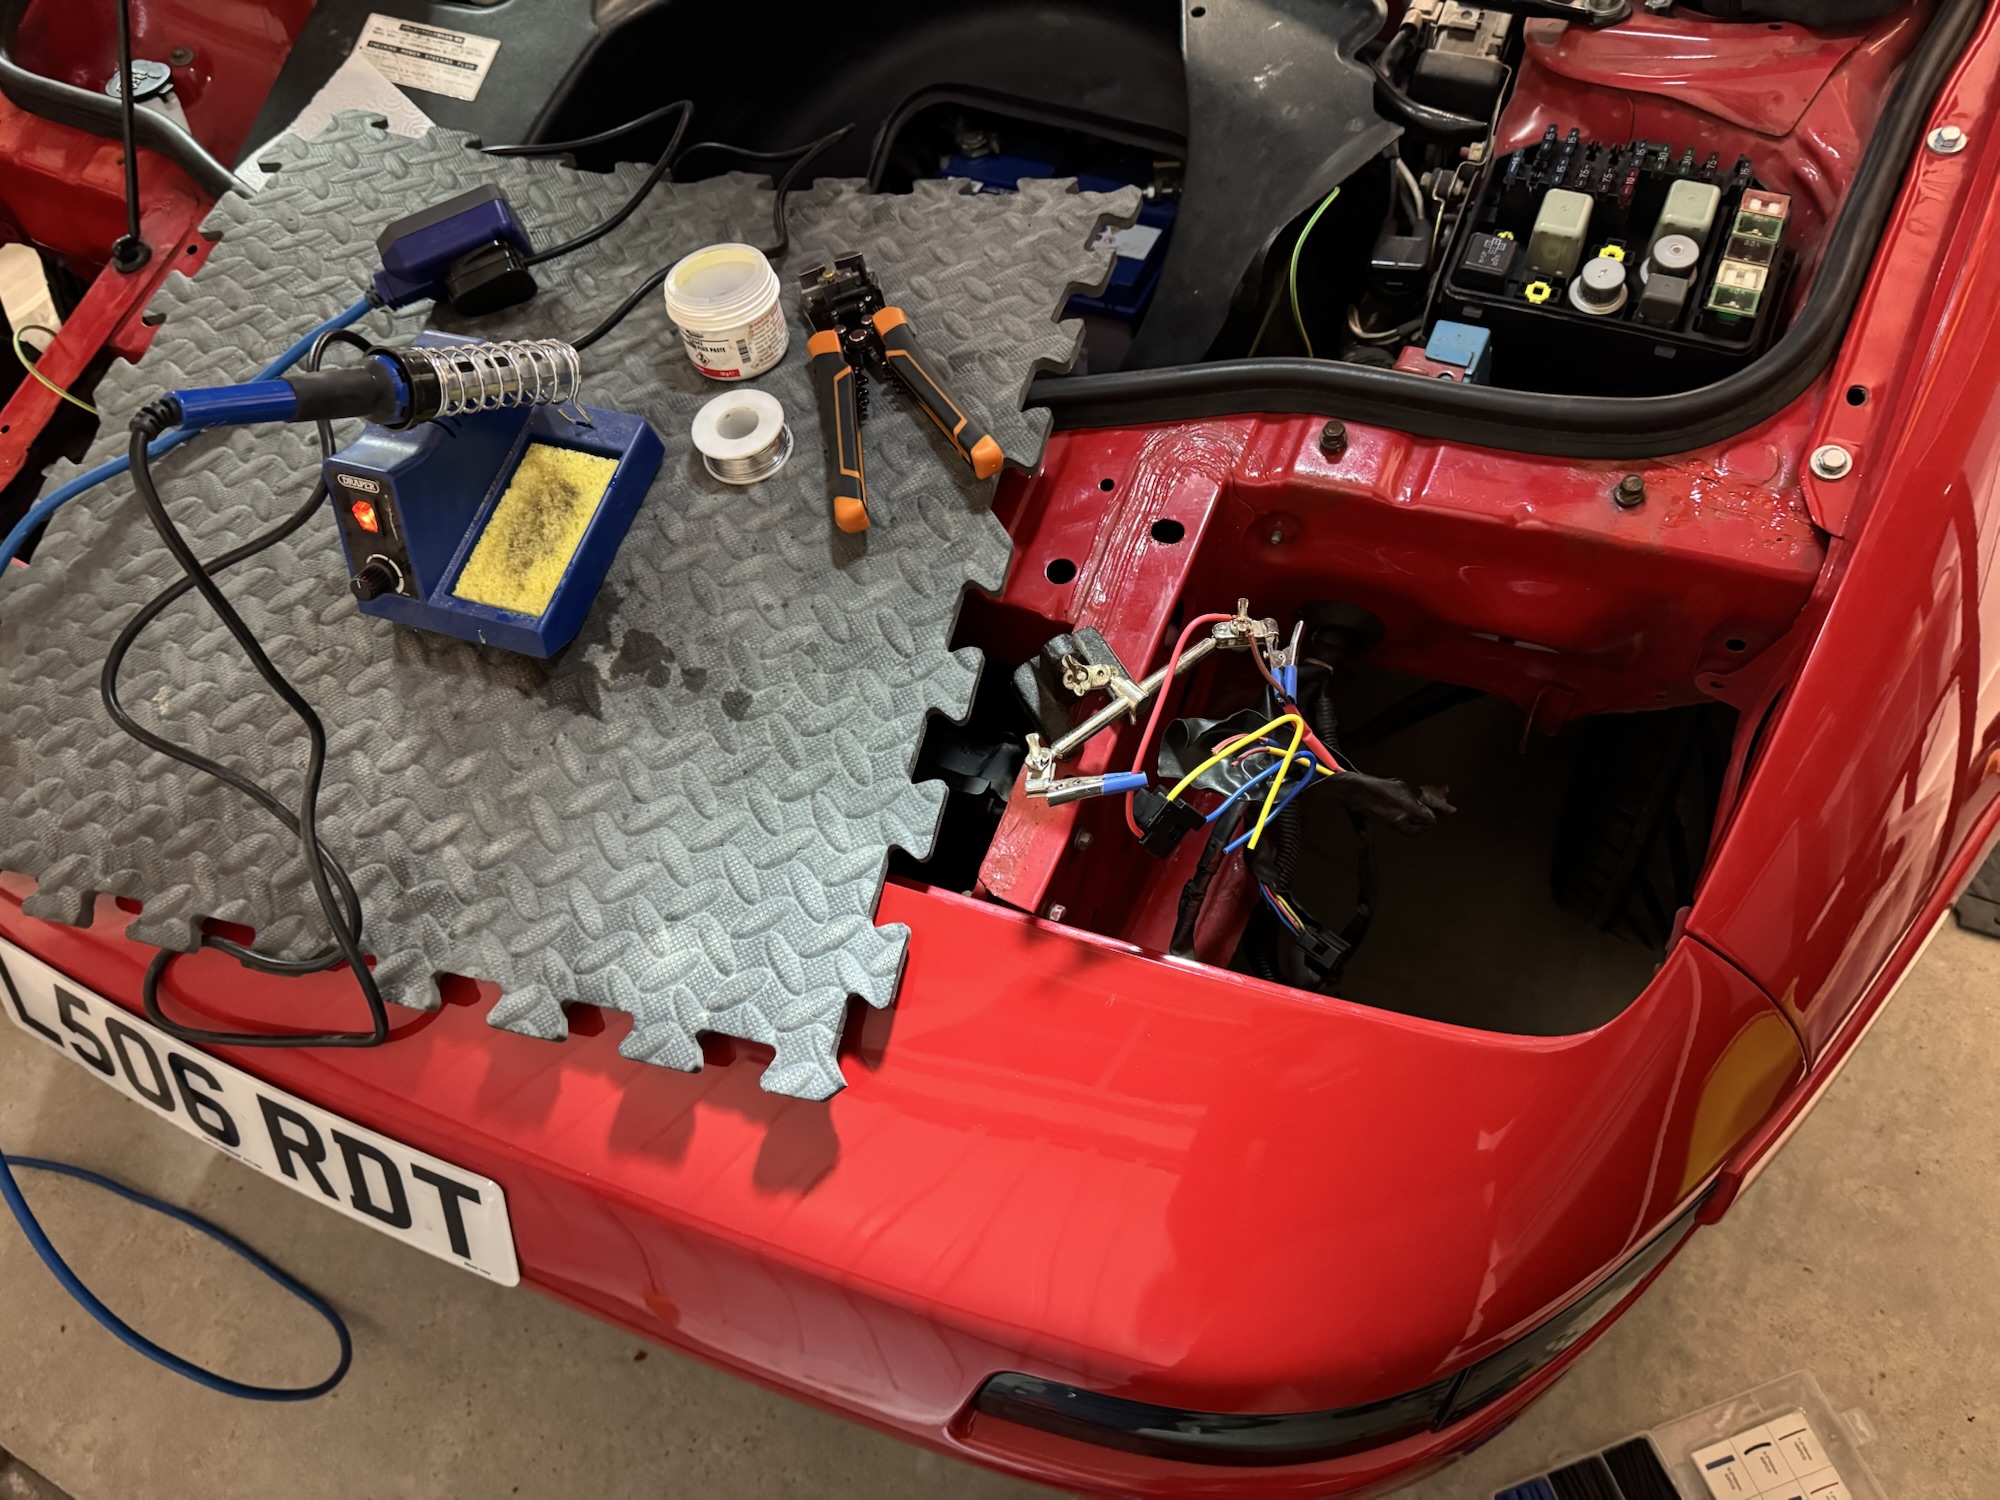

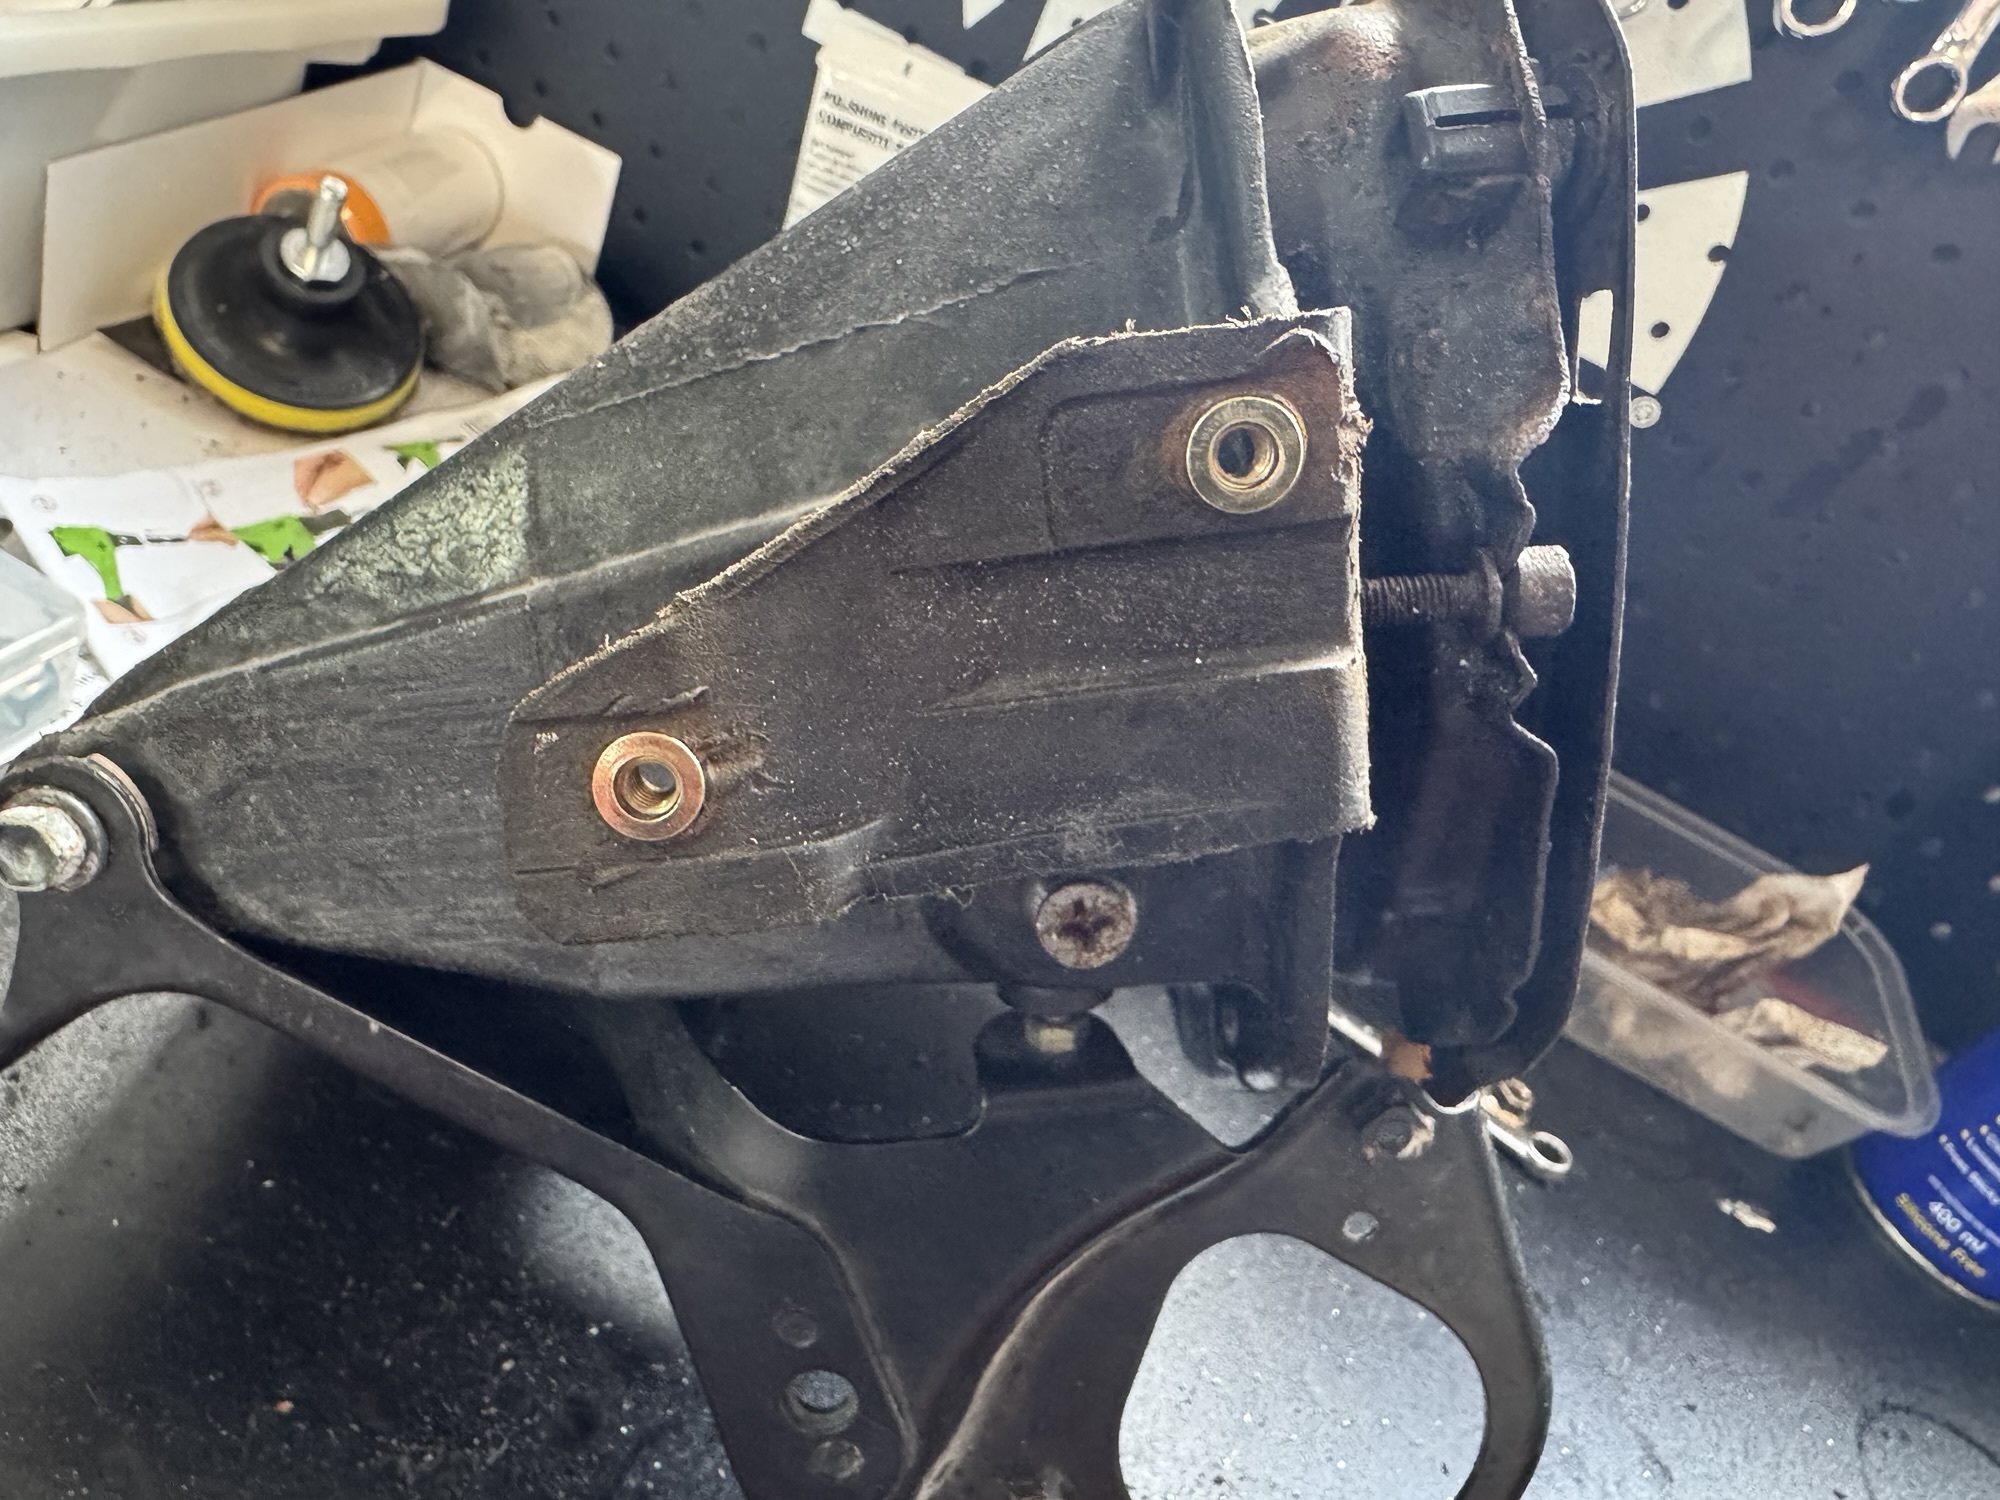

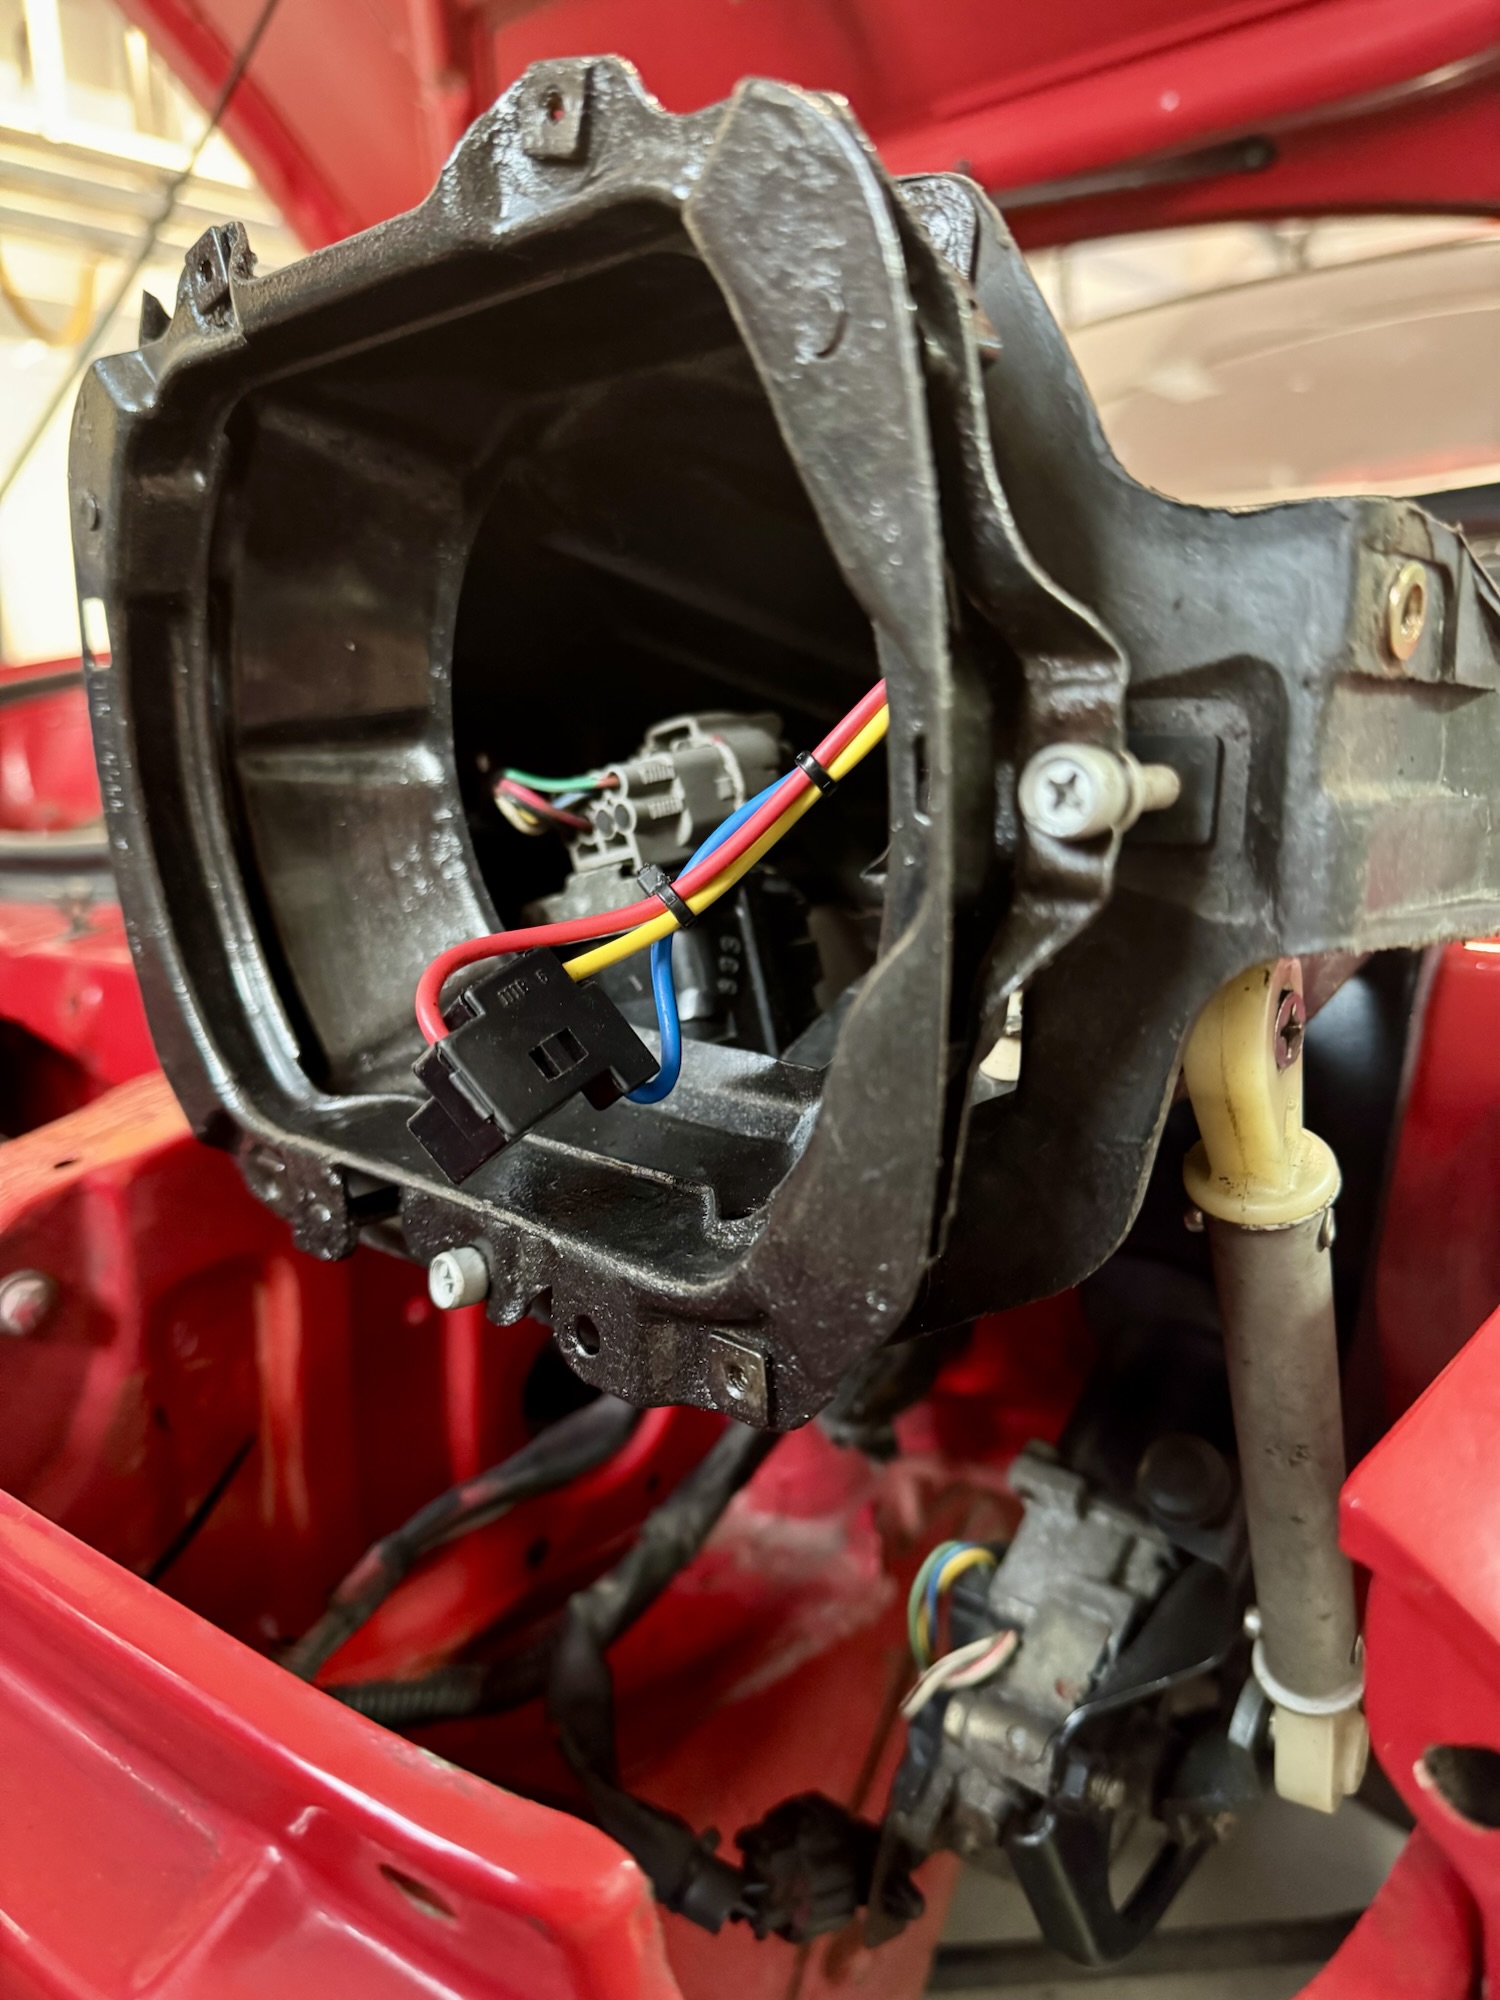
The earth wire which had been added directly between each of the headlights by a previous garage, must have been added because the connectors were so worn (clearly overheated at some point). The fuse for the passenger side headlight was also blown and being bypassed by the added length of cable travelling loosely through the frunk to the drivers side headlight. After replacing the faulty connectors with new and replacing the blown fuse, both headlights are now working as per OEM.
Rust Removal
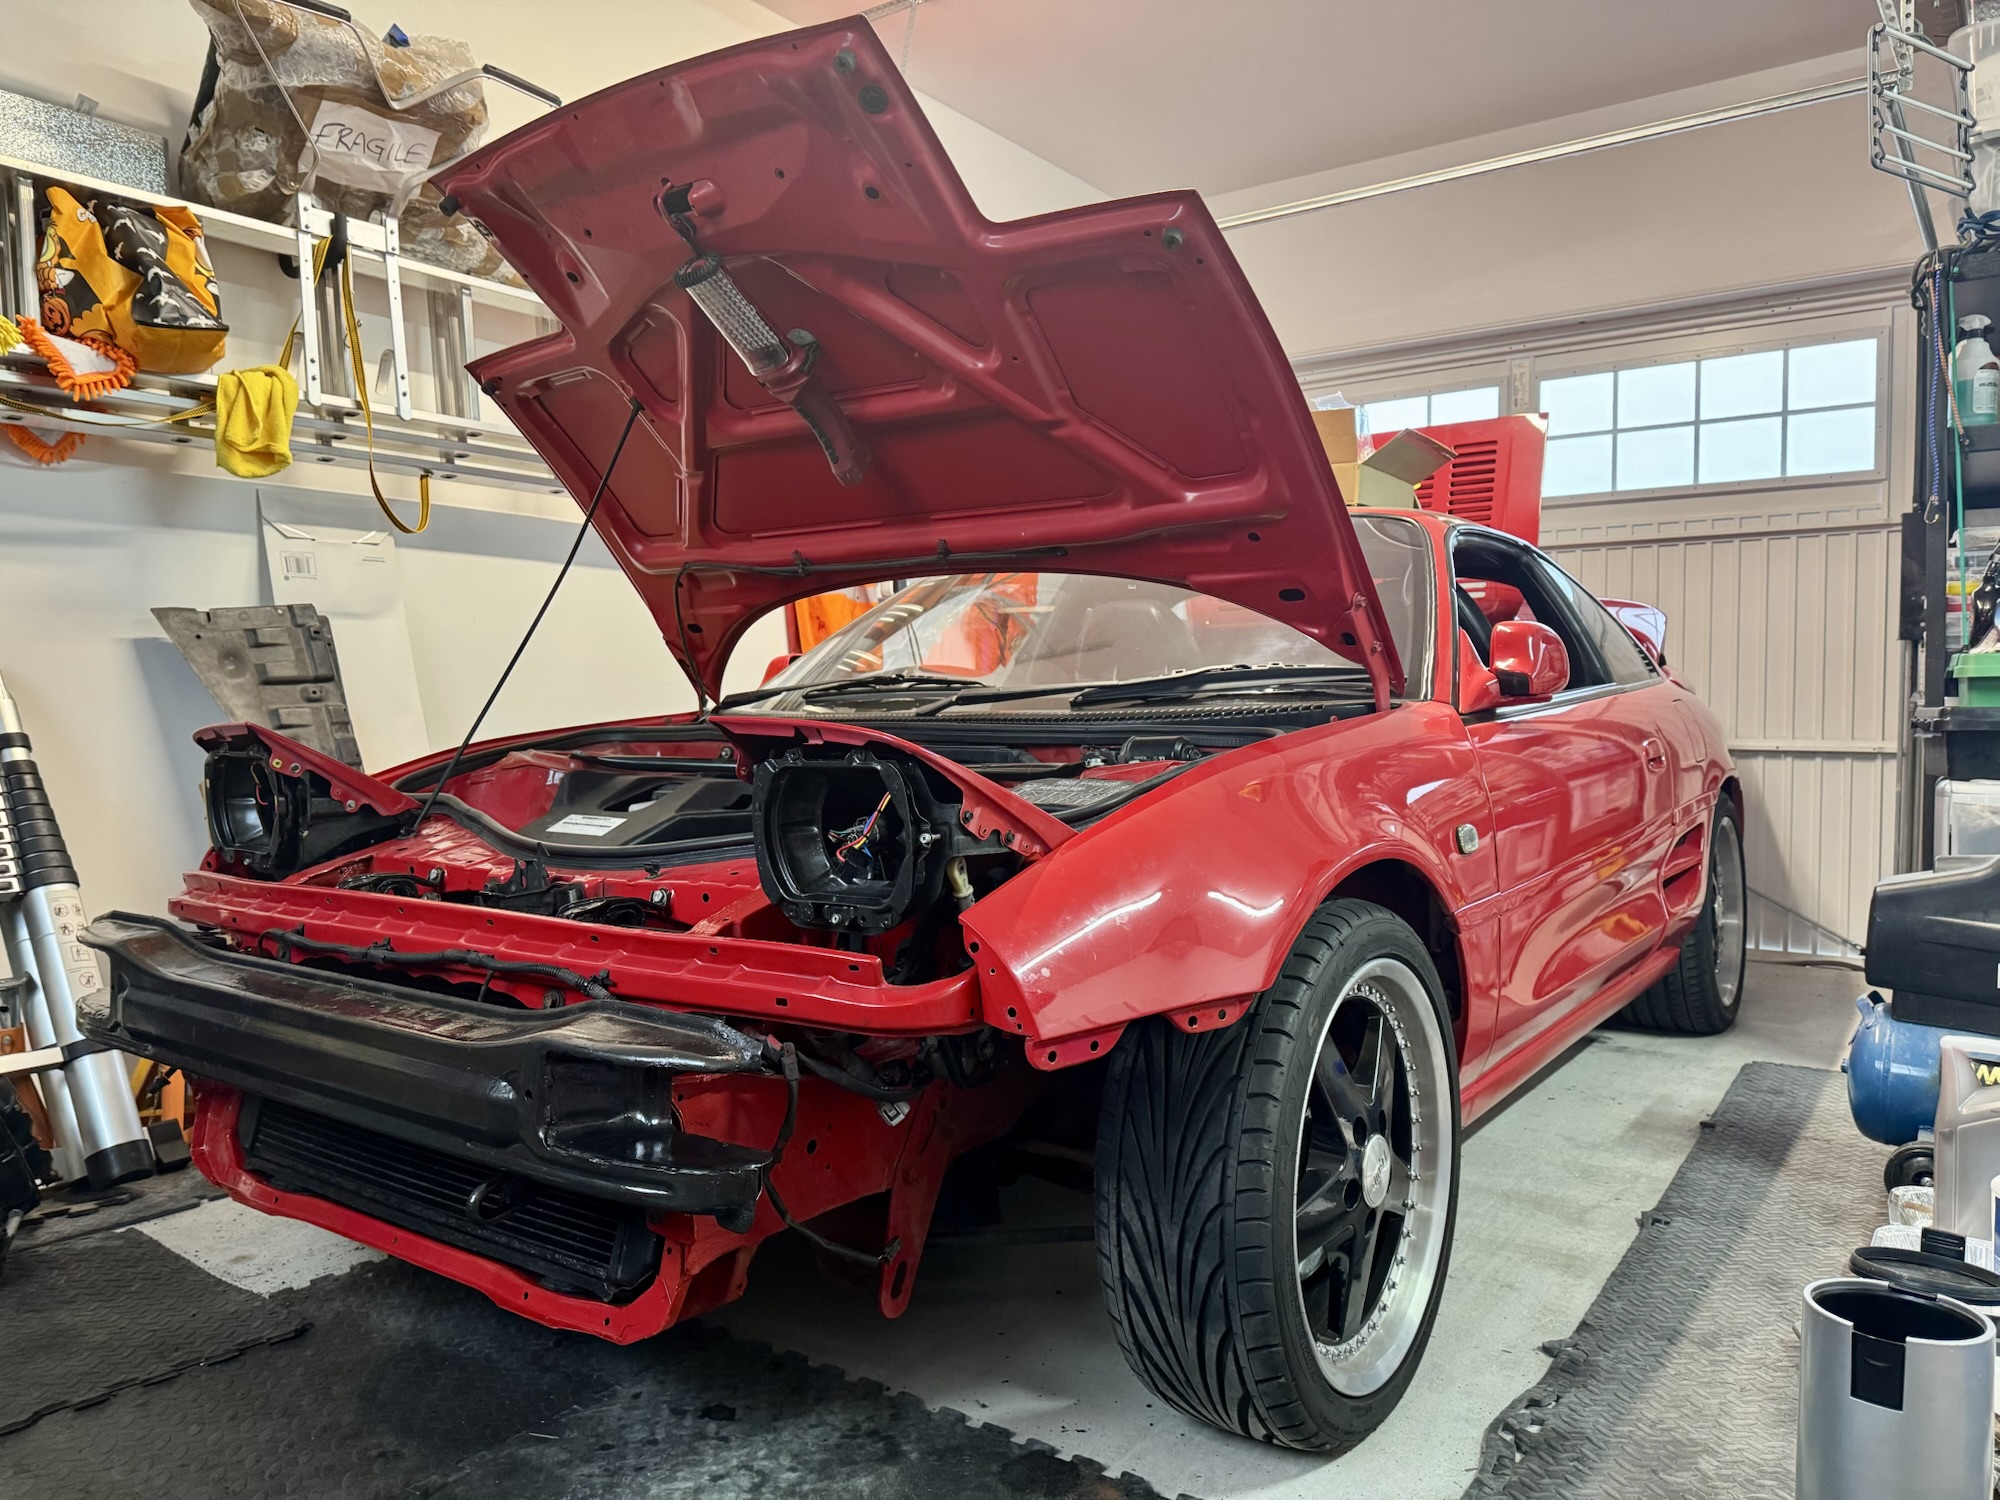
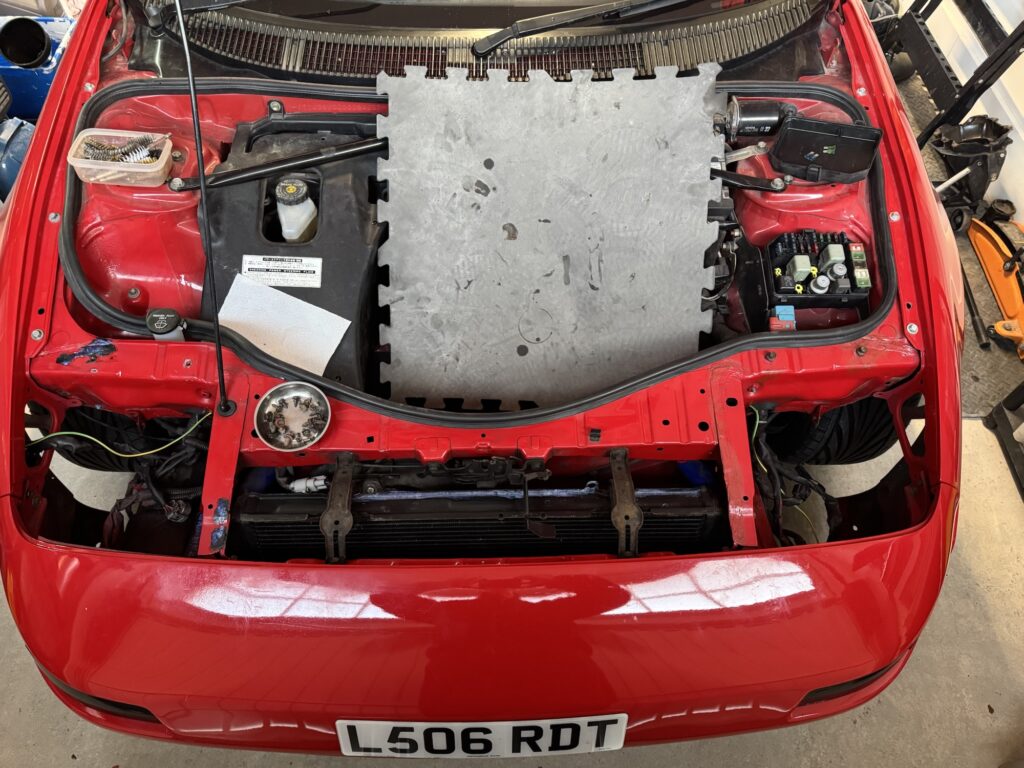
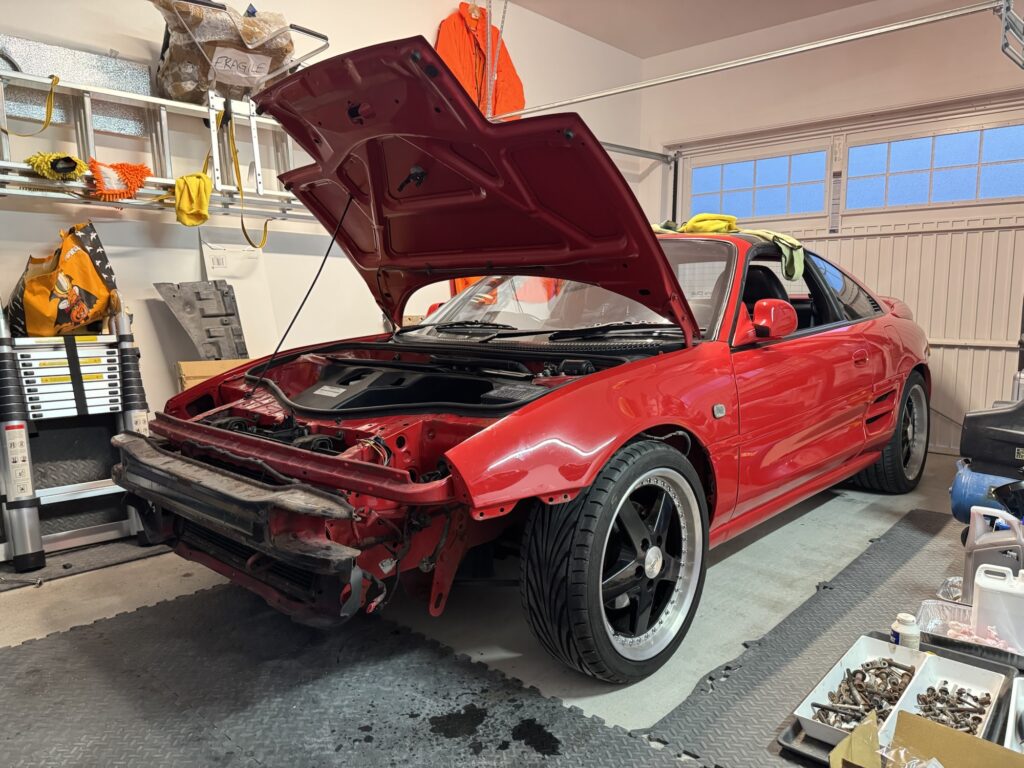
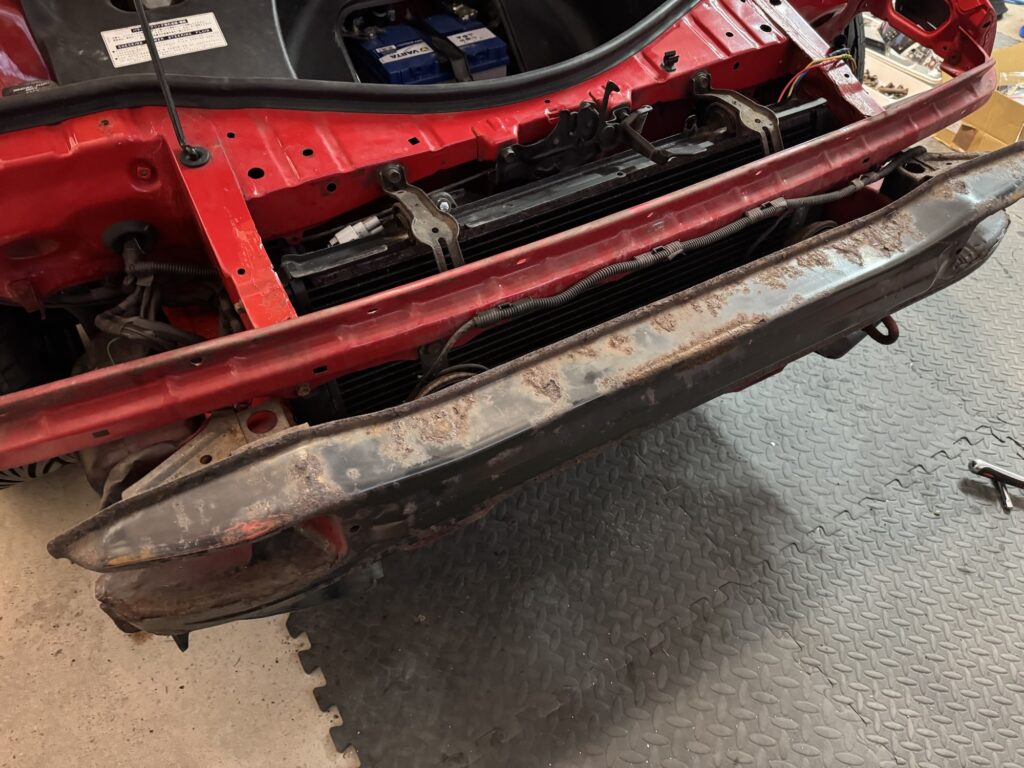
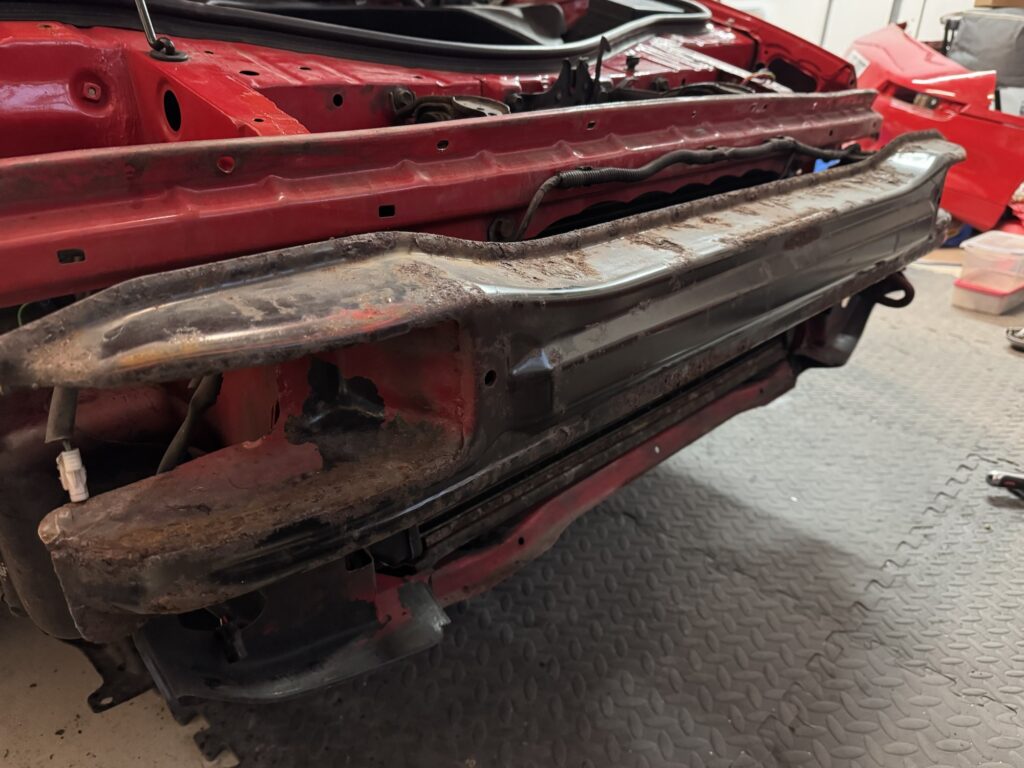
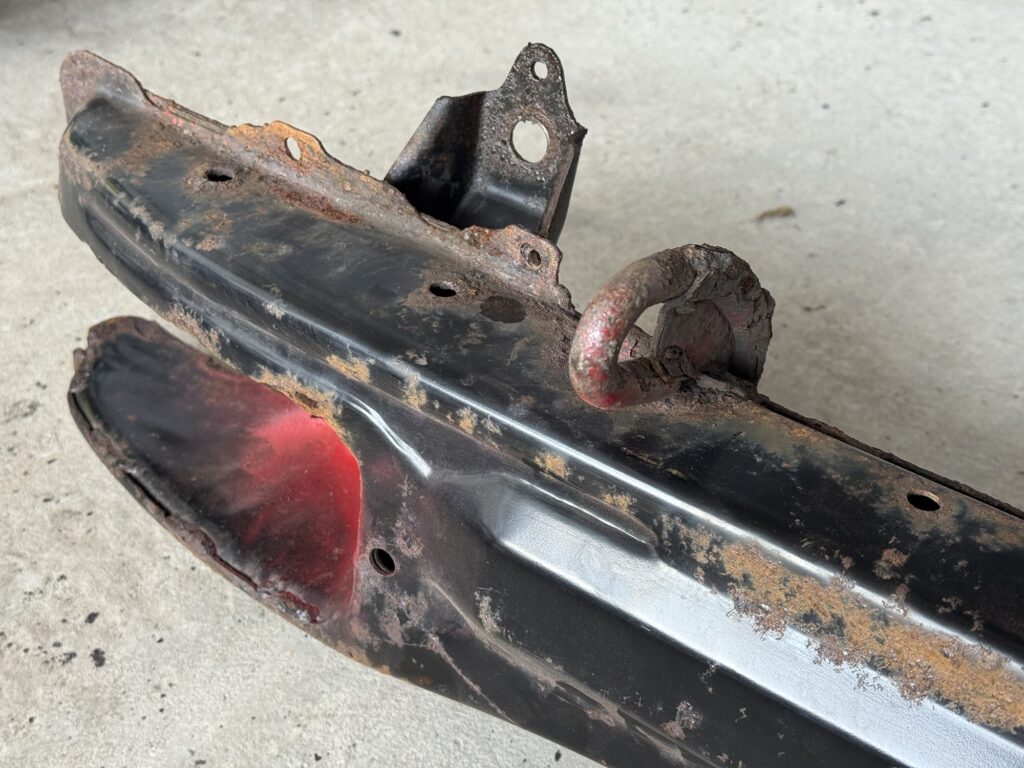
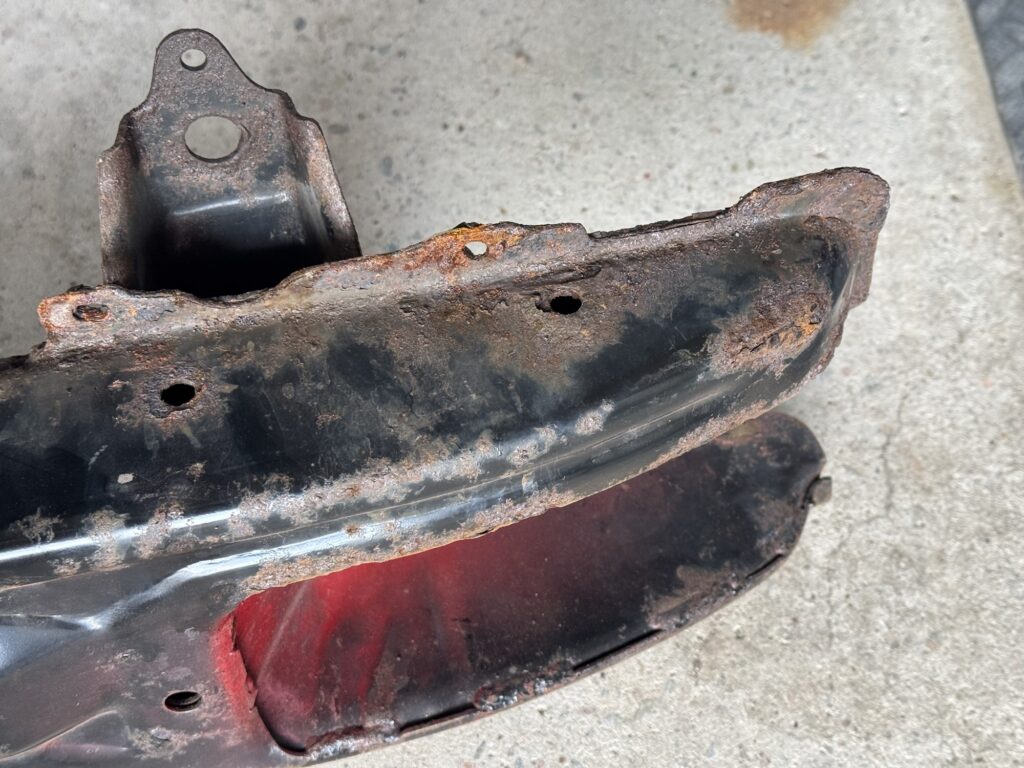
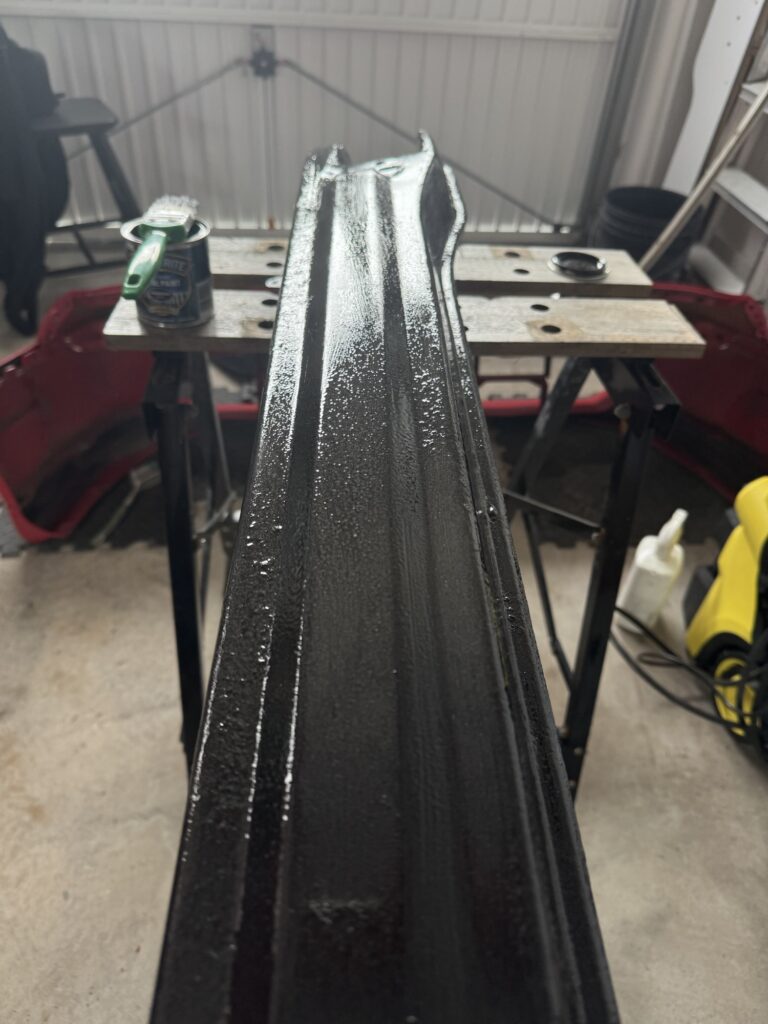
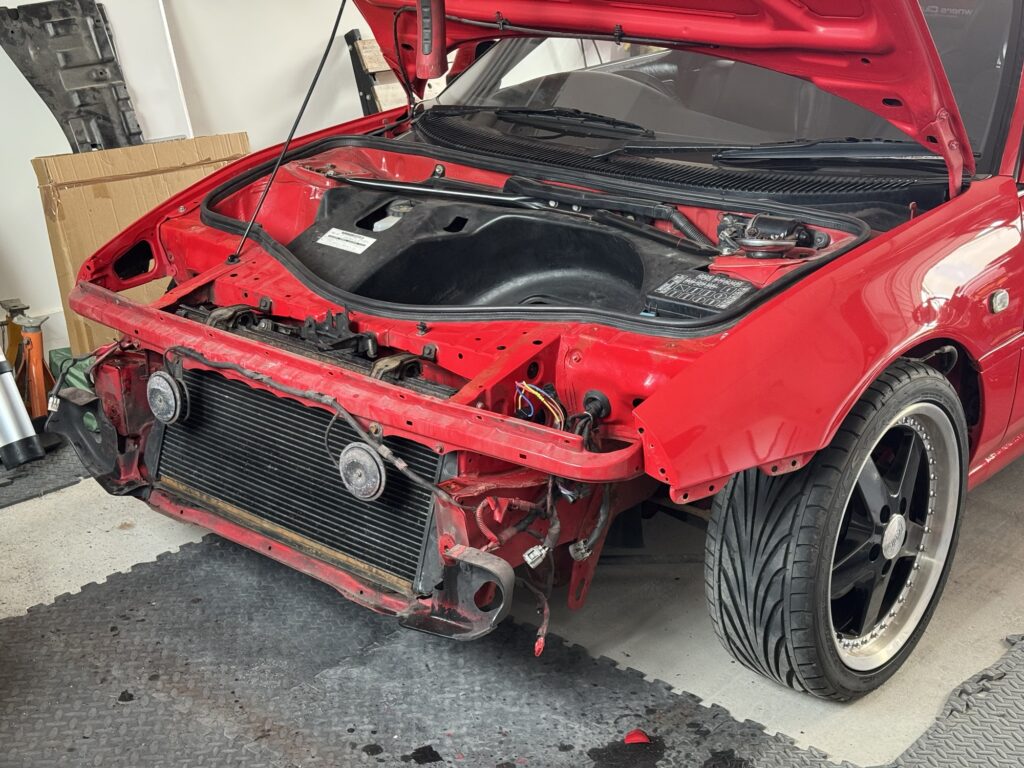
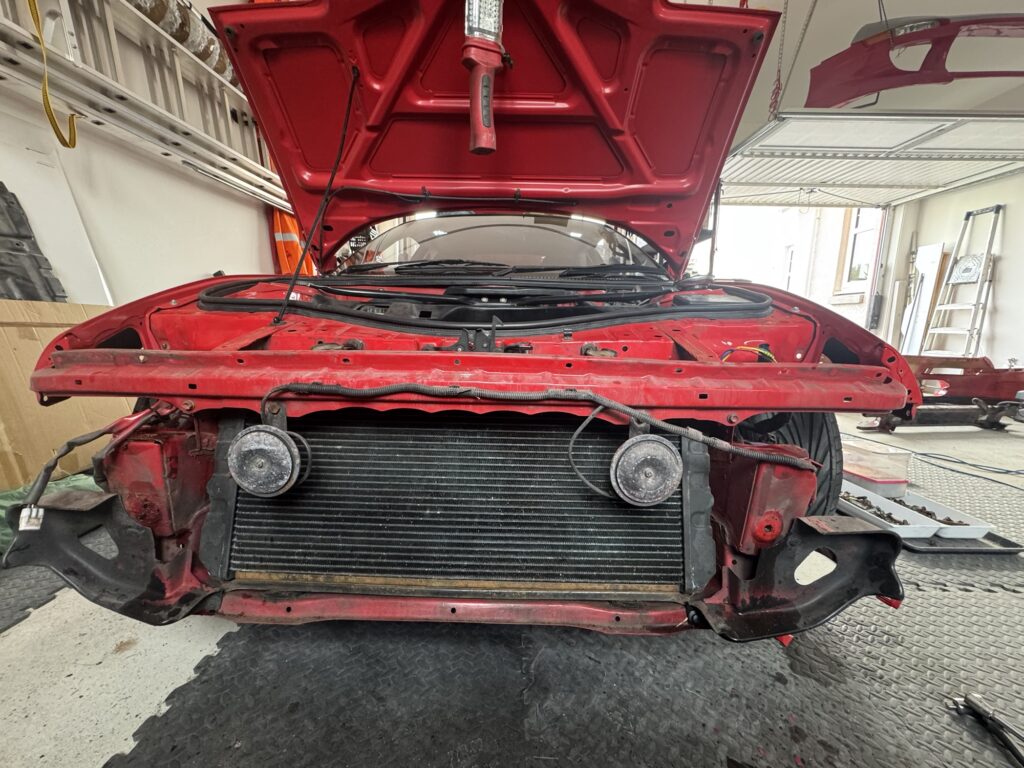
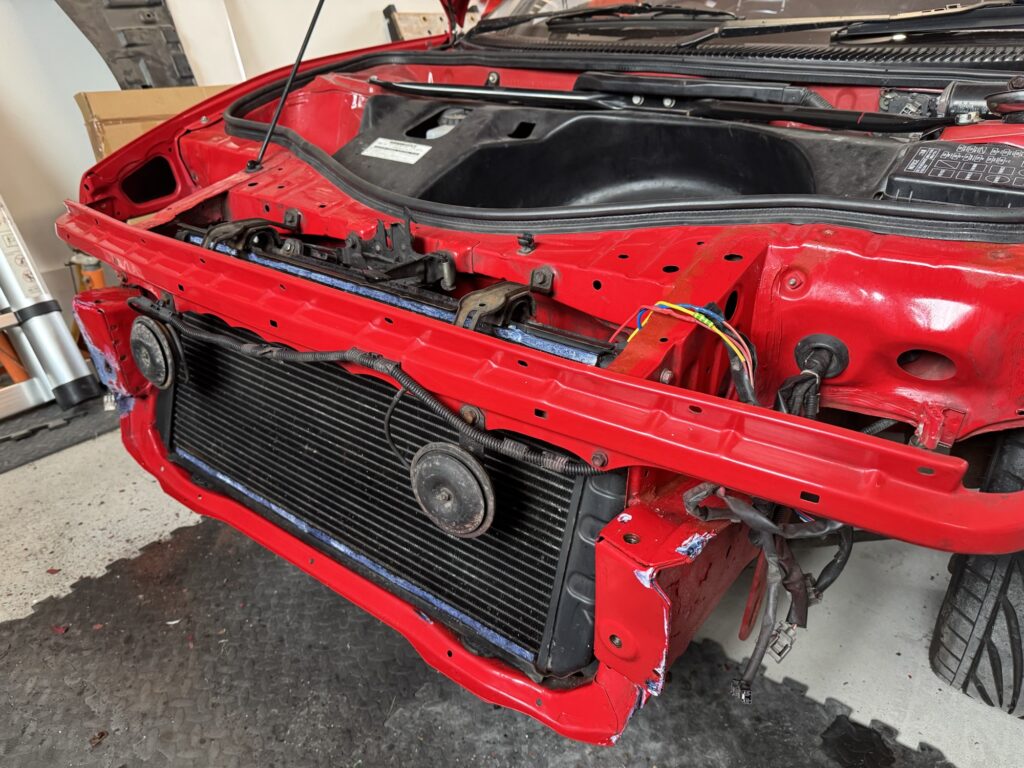
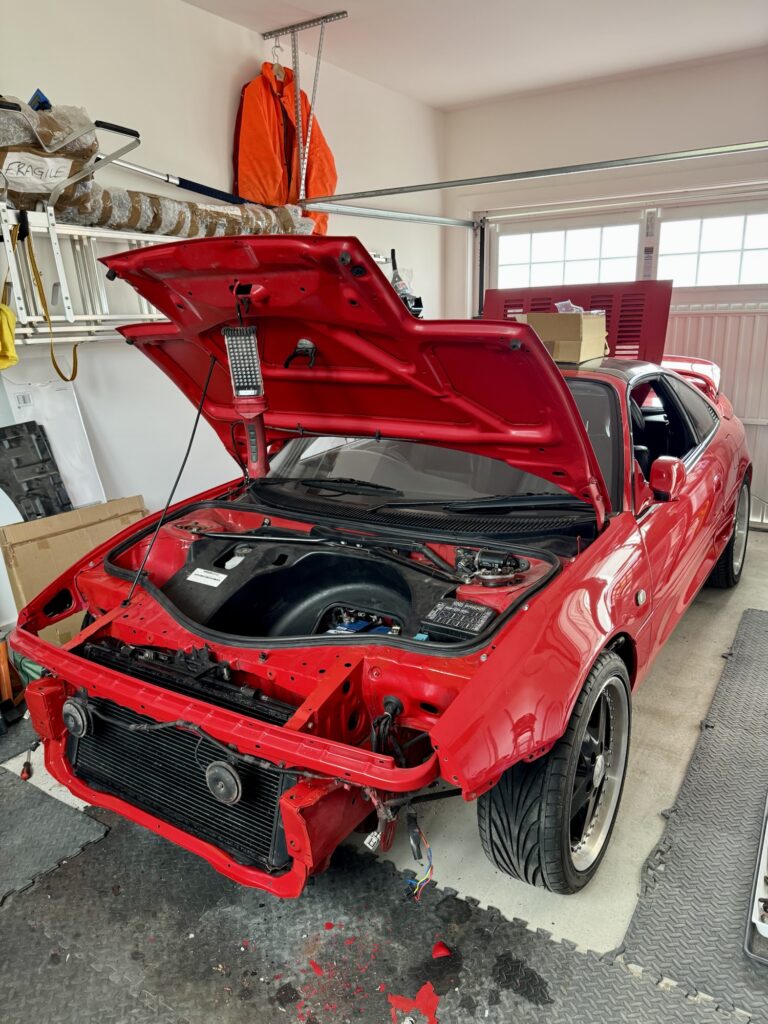
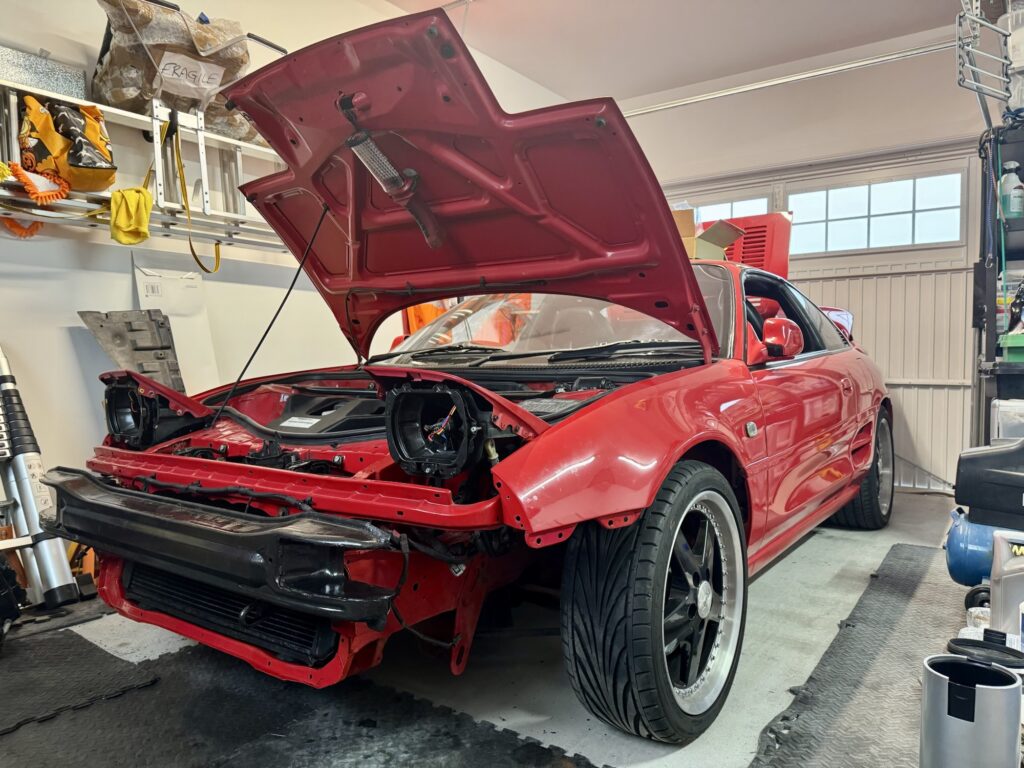
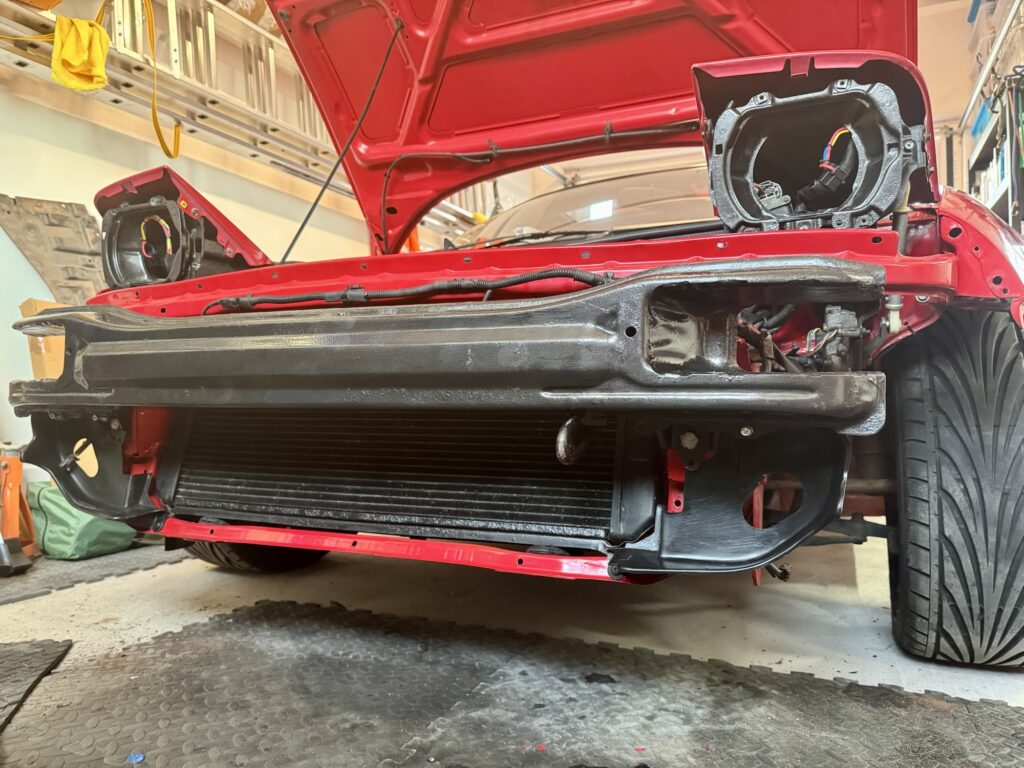
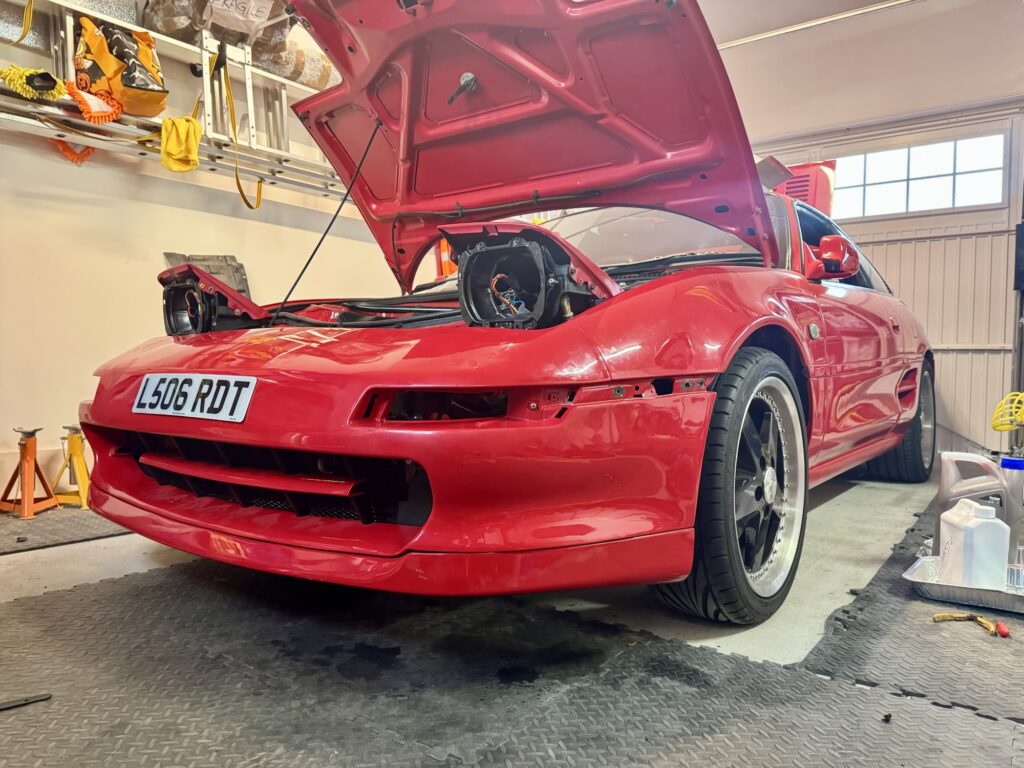
As I was dismantling the headlights, for ease of access I decided to remove the front bumper which then added a whole new layer to the work list – more rust to be tackled, foglight fixings to be repaired, radiator mesh to be fitted and bumper rub strip fixing repair! Sanded down a lot of rust, treated with Karust and then painted with Hammerite.



Fog Lights
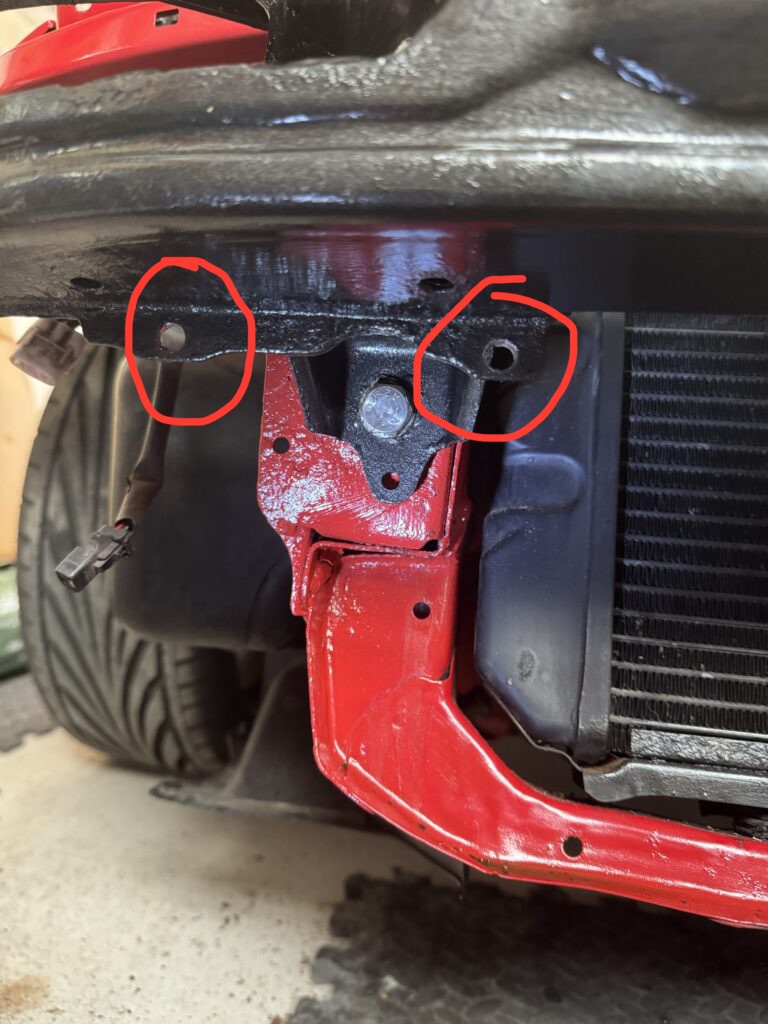
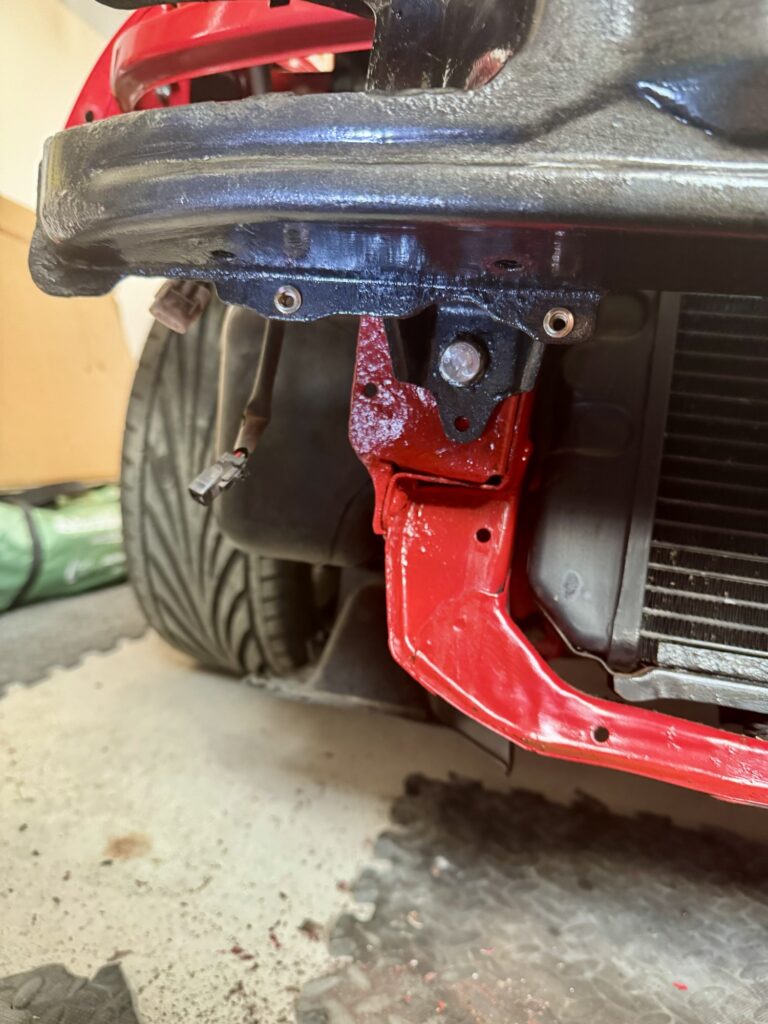
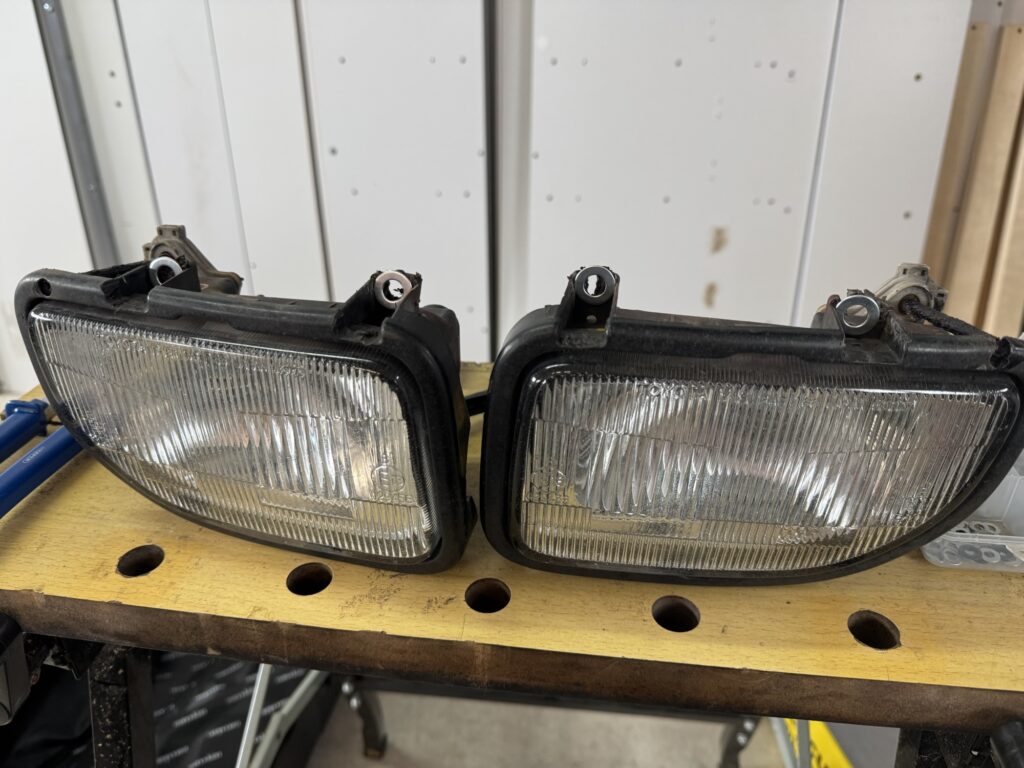
Next up was the fog lights themselves. A common problem is that the securing bolts rust through and it appears that these have been forcibly removed in the past. My plan is to JB weld some washers and then secure them with Rivnuts and a cap head stainless bolt so that an Allen key can be used for future removal.

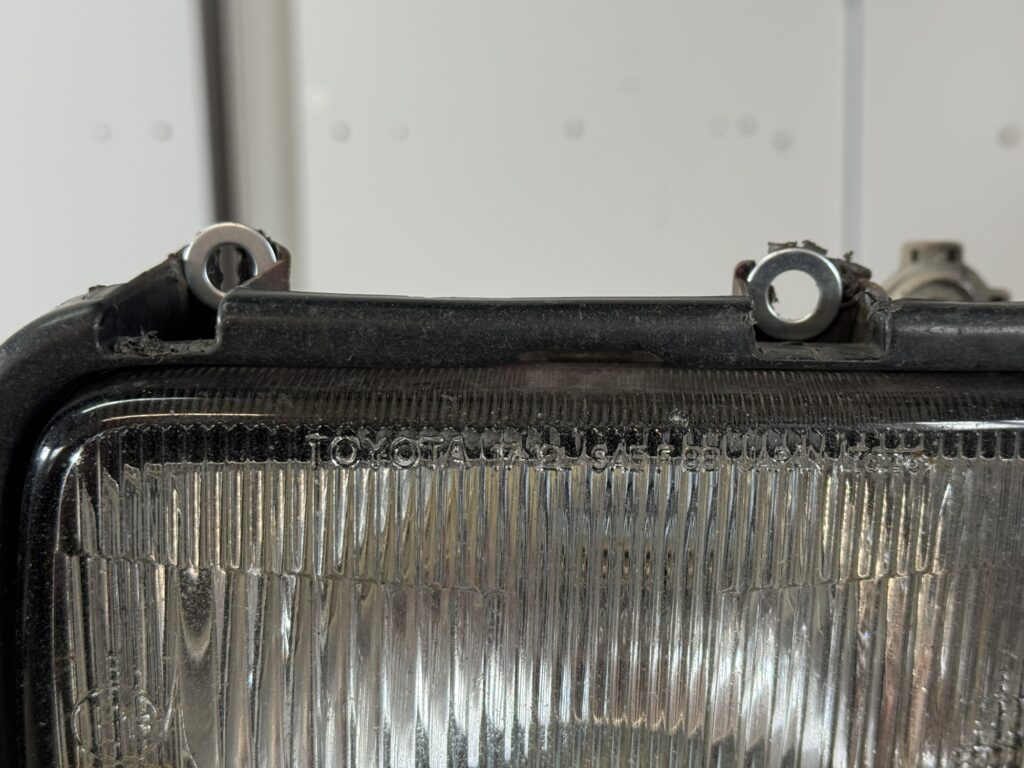
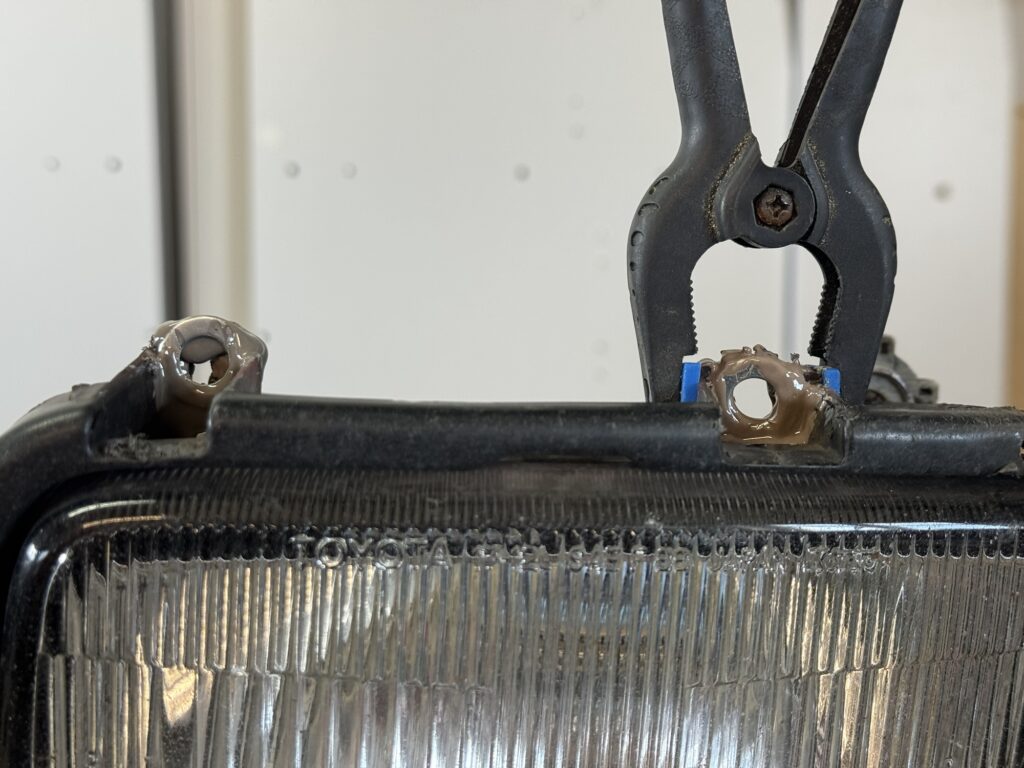
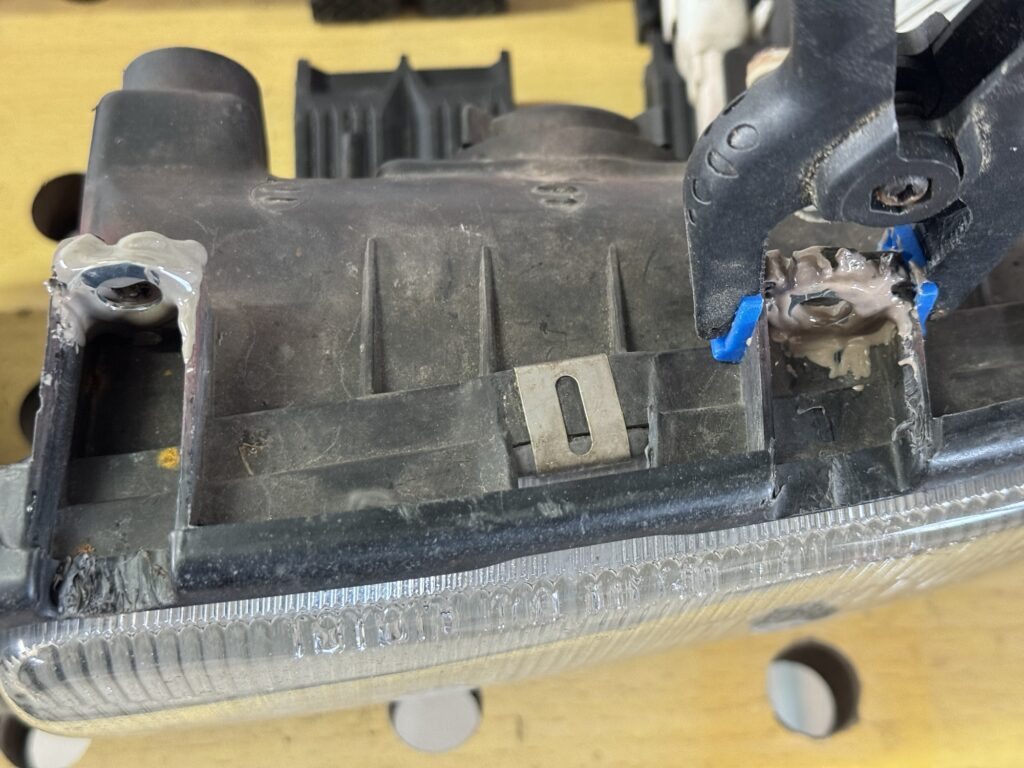
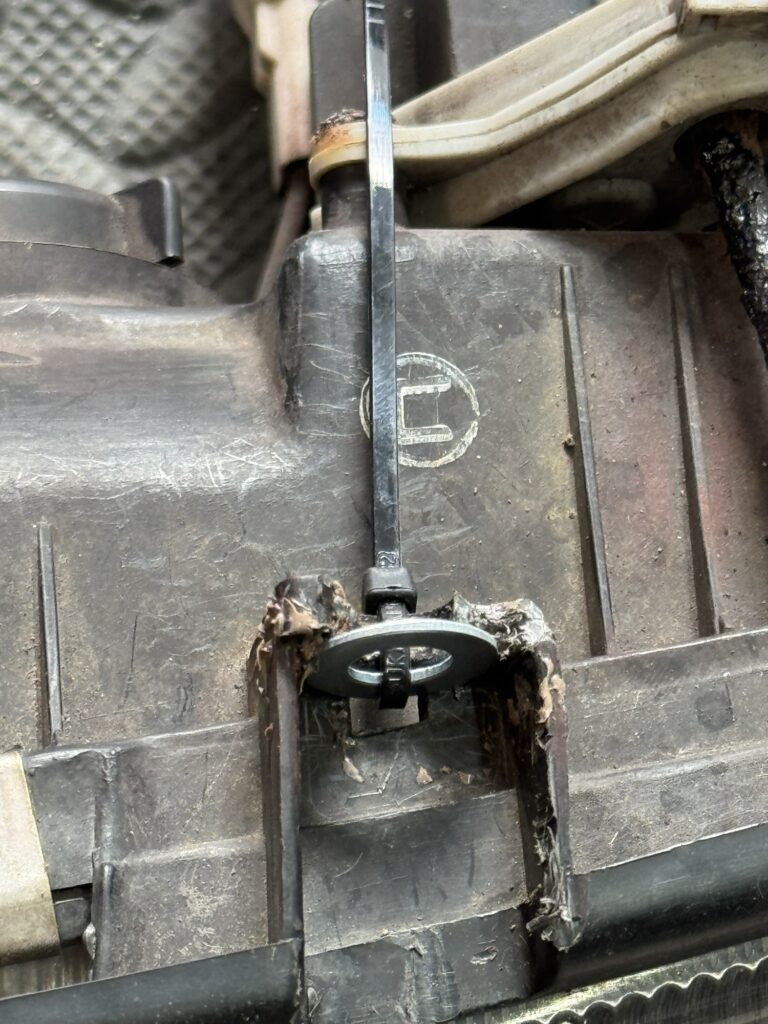
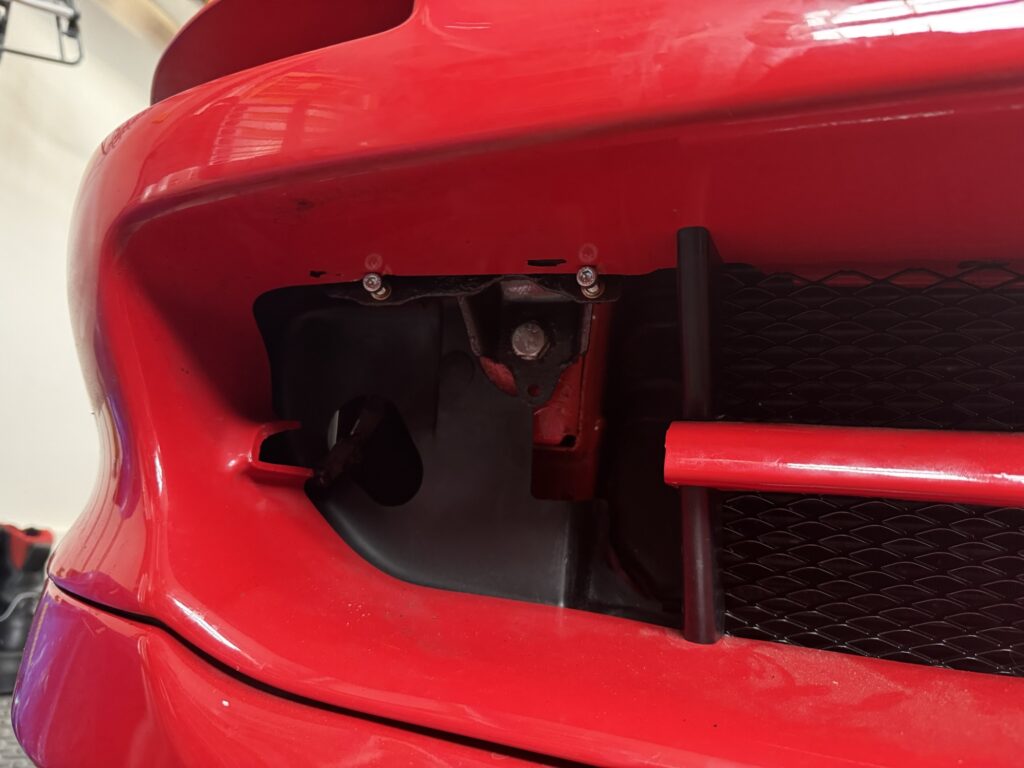
Side Moulding Repair
While taking the bumper off, it became apparent that the side moulding strips had been glued and cabled tied on – another common issue with the securing bolts snapping. Replacing with new is an option, but I’d have to try and paint match them, so I’ll have a go at repairing them. I try a few different approaches below, considered melting the bolt heads into the existing plastic but have ultimately settled on removing the existing material and combining a new bolt with some shaped metal – smothering these in JB weld will hopefully hold.

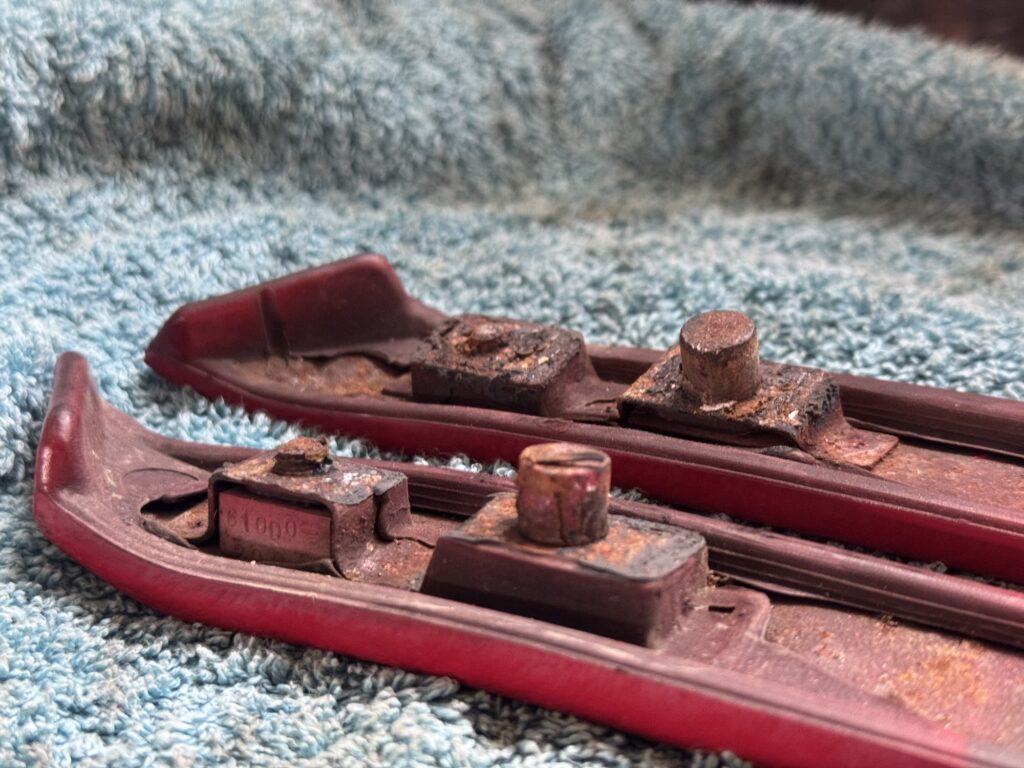
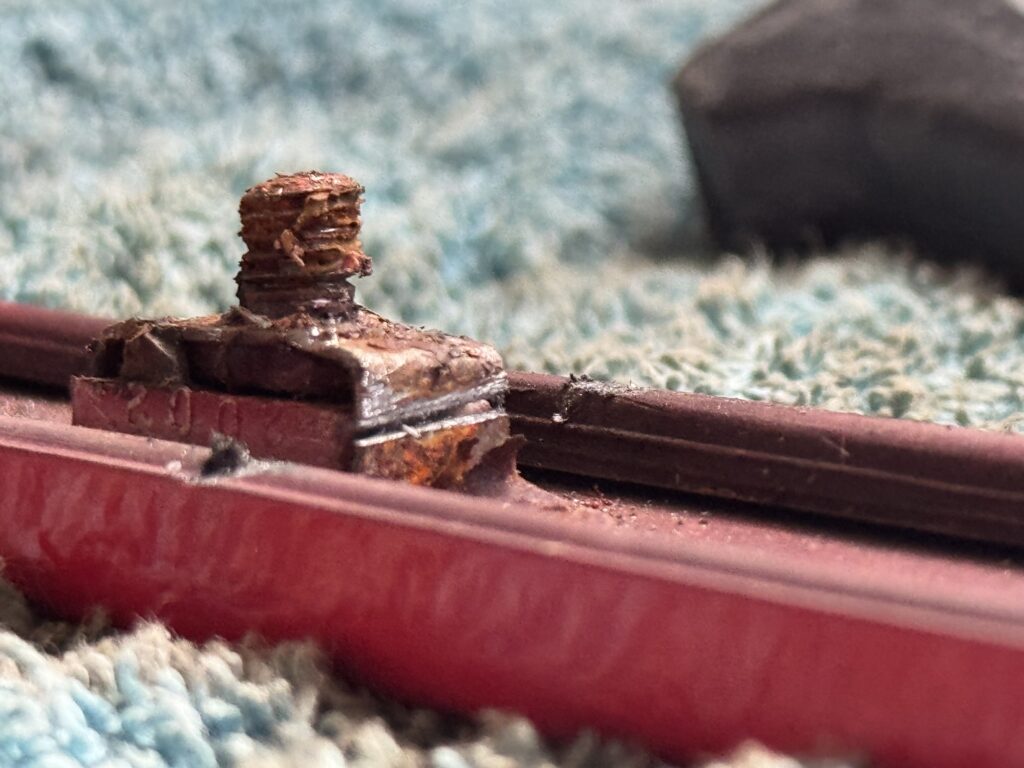
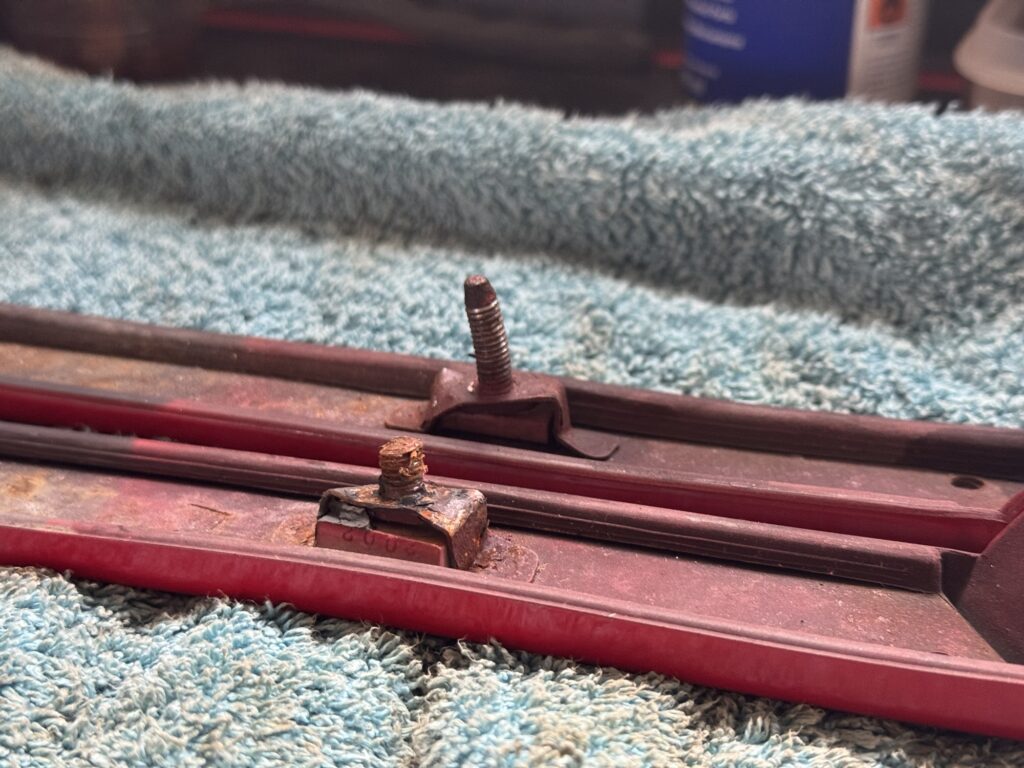

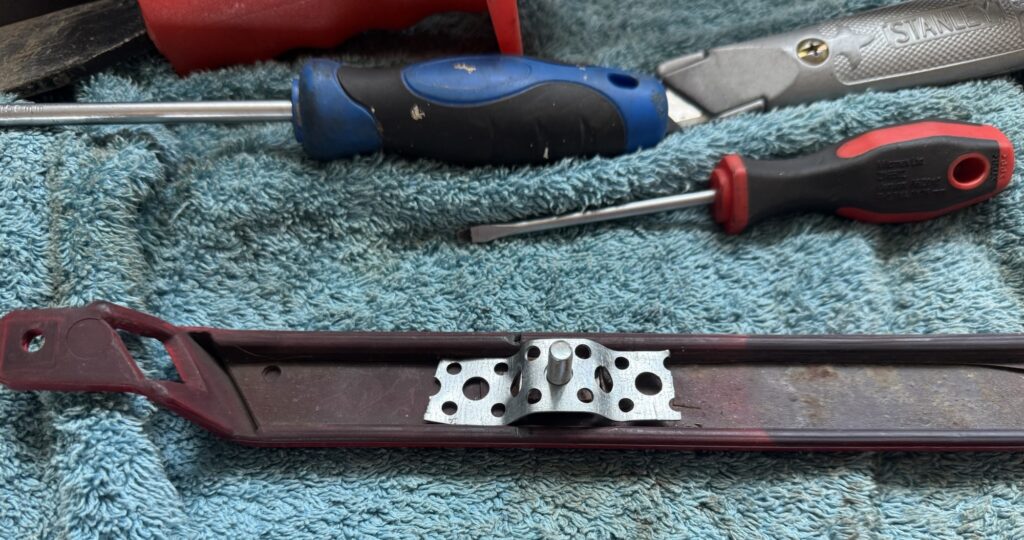

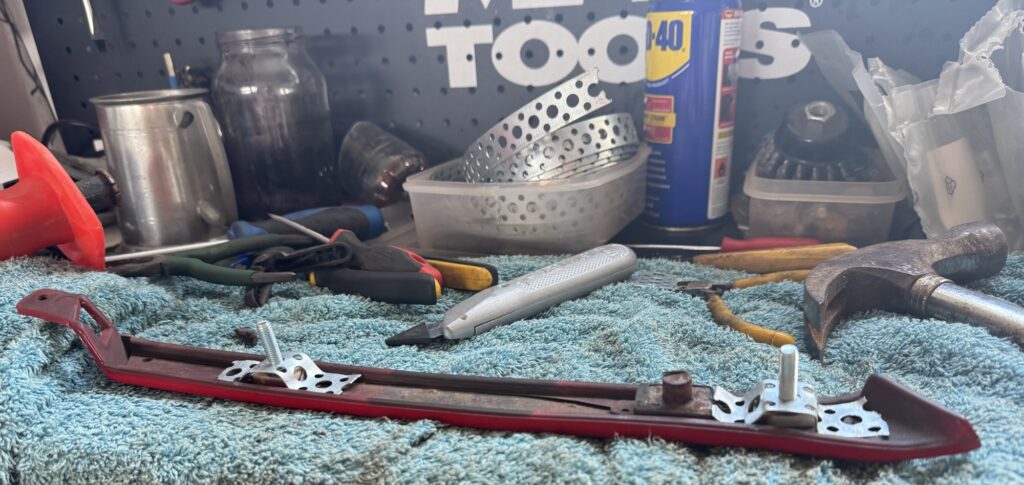
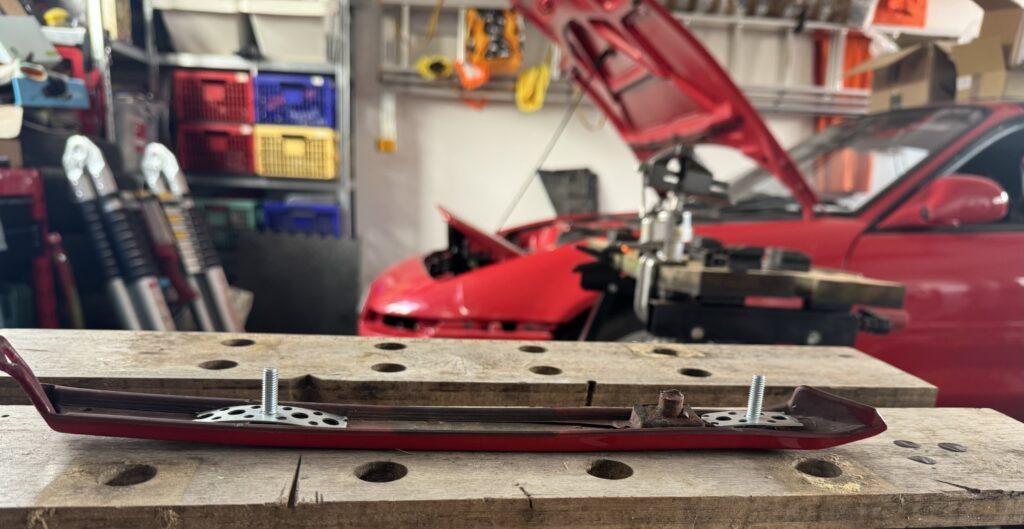


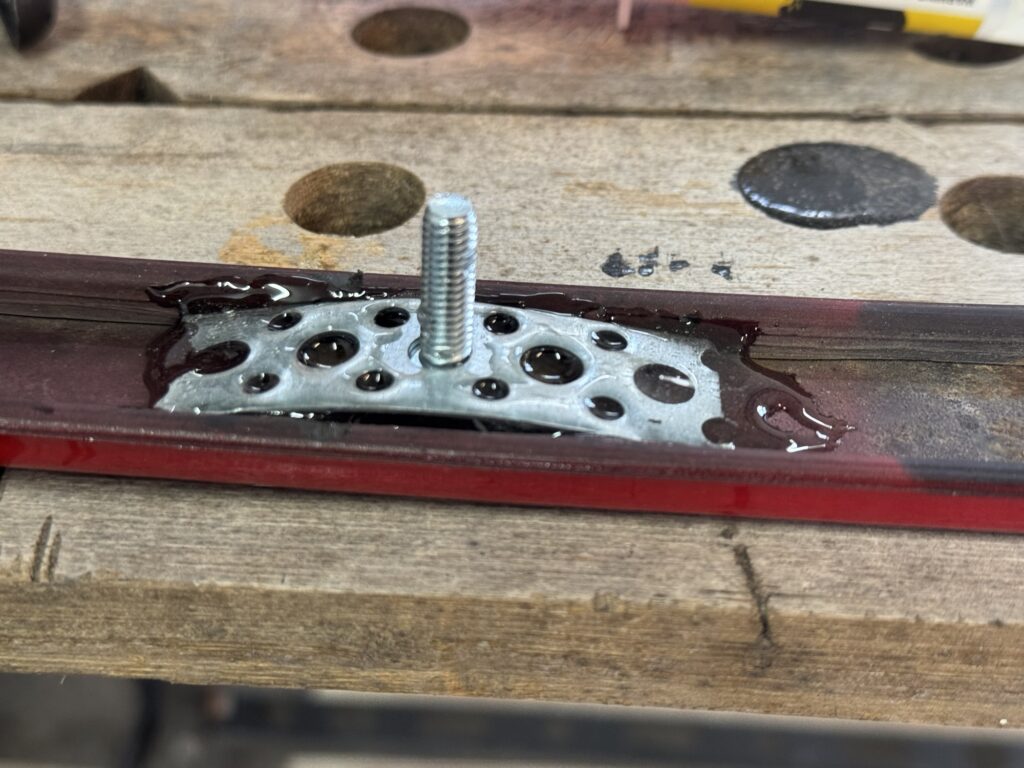
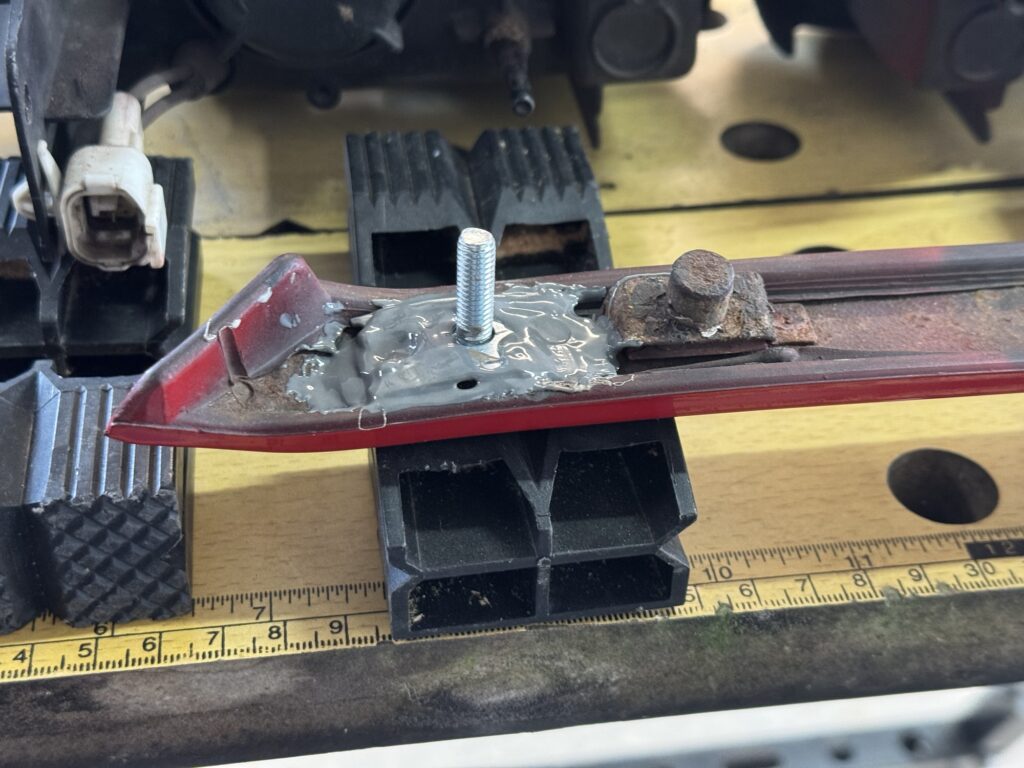
I tested two different glues to see how they compare: 2 part clear epoxy, JB Weld.
I was thinking that epoxy might be the better option as it might be a bit more flexible, however giving the components some mild movement after setting, the Jb weld seems to hold up better remaining solid and intact whereas the epoxy had signs of cracking and coming away from the surface. However both are holding strong so far.
Radiator Mesh
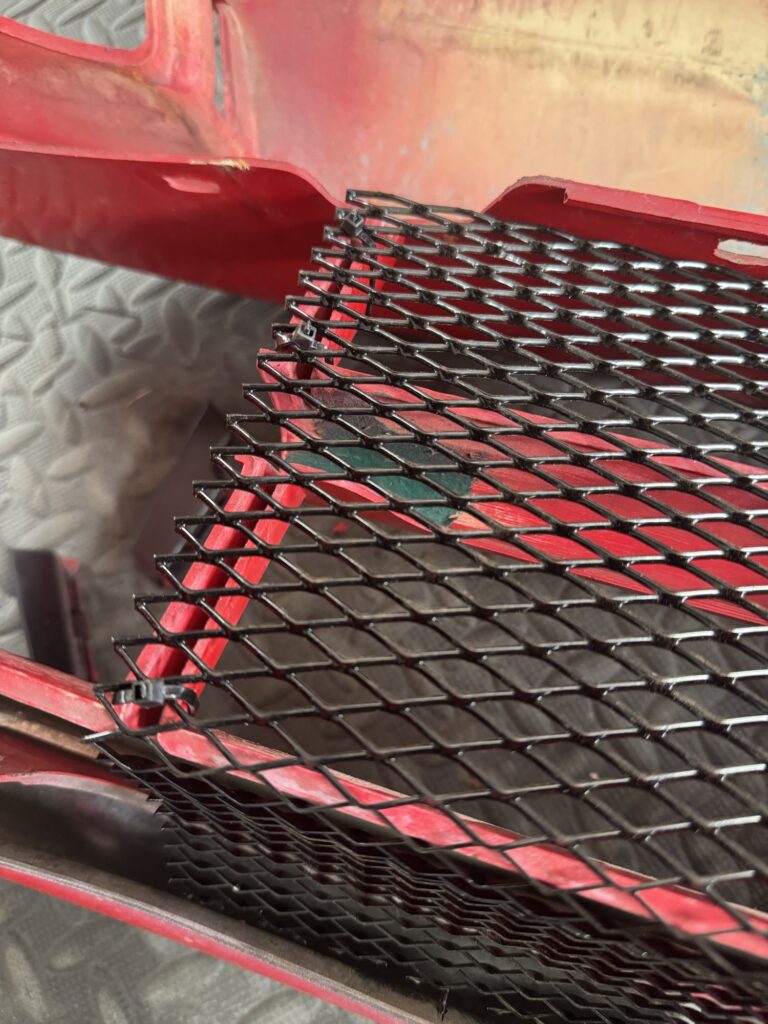
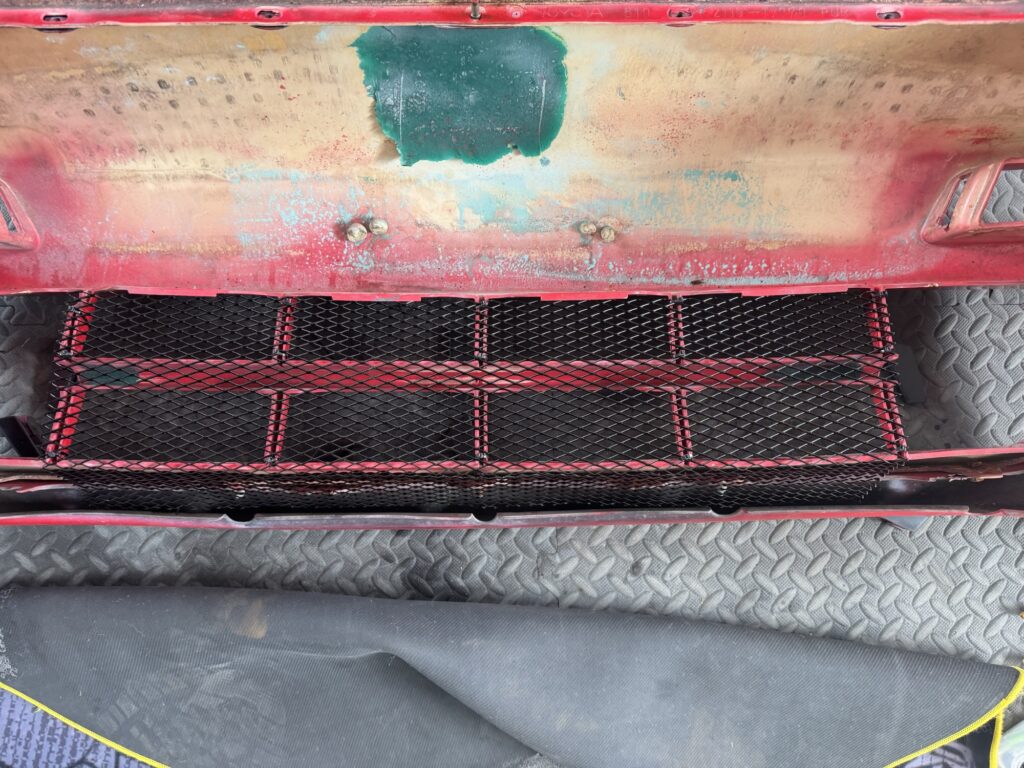
With the bumper removed, now is the perfect time to fit the radiator protector mesh I purchased years ago! No glue here, I’m going with the cable tie approach as they are all hidden perfectly behind covers.

Reassembly List:
- Refit fog lights
- Refit headlamps and align
- Fit bumper rub strips
- Fit new sidelights (changing from smoked / black to crystal cleat)
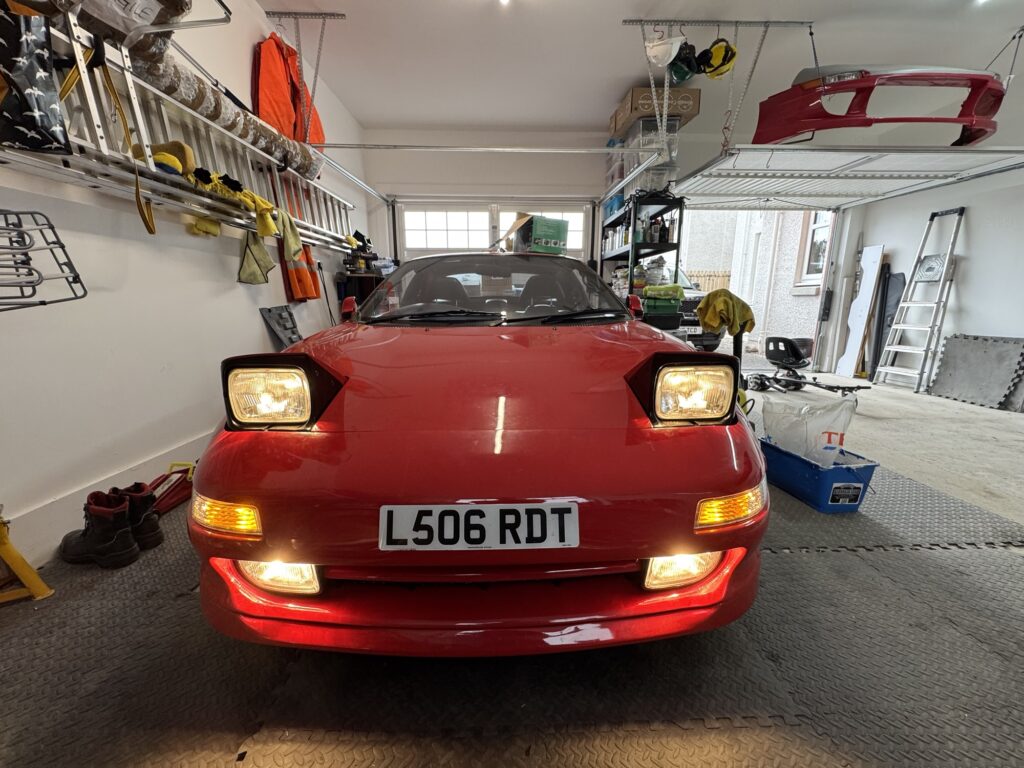
The headlight covers, bumper and hood took a lot of effort to align!

Bonus Upgrade
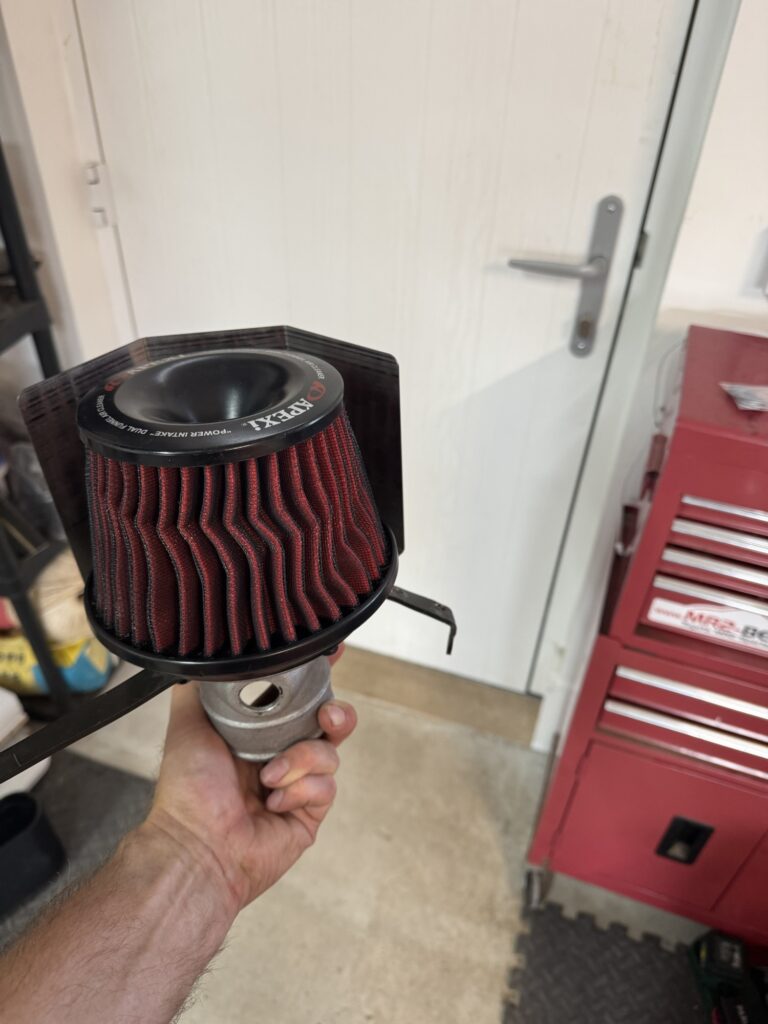
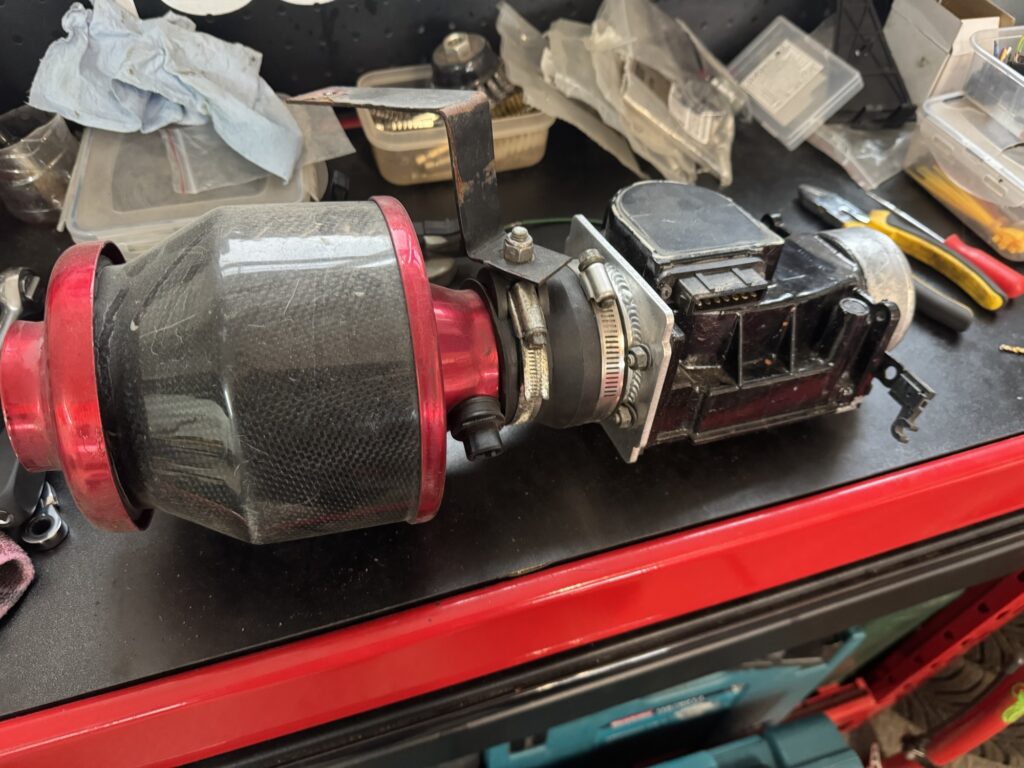
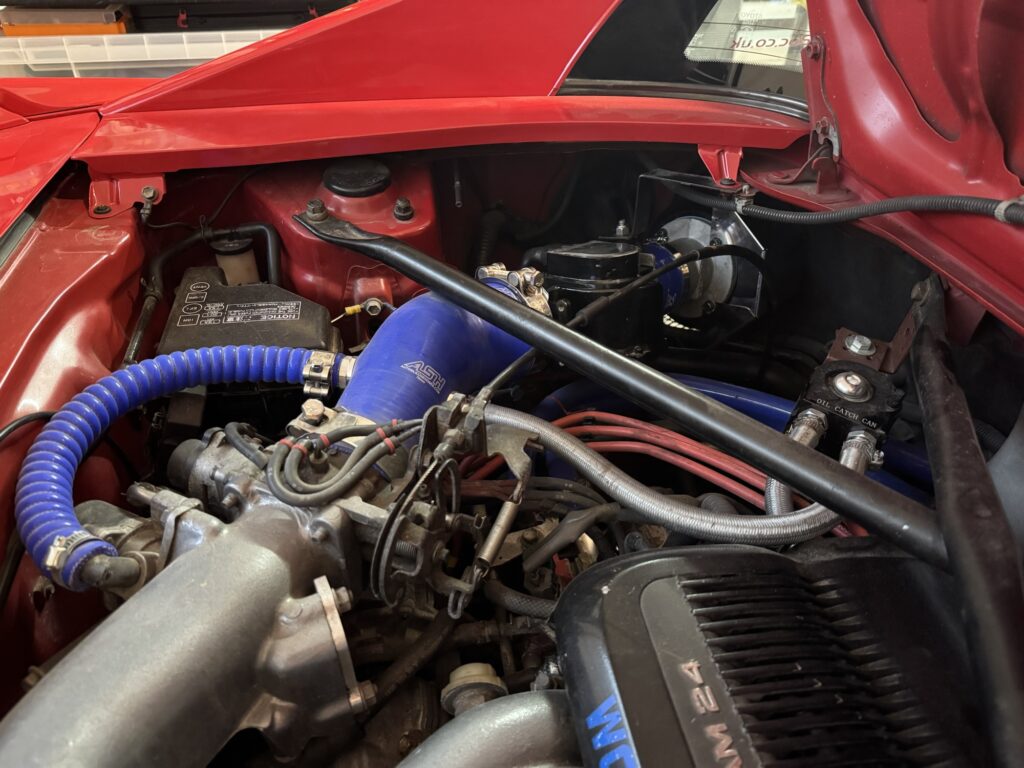
While working on the front end I also jumped at the opportunity to pick up an Apexi induction kit to replace my Pipercross Viper which I feel is a bit restrictive.